Ever fancied crafting your own aged whiskey in the comfort of your home? It’s surprisingly achievable. All you’ll need is your chosen unaged spirit, a suitable oak barrel, a generous dose of patience, and a bit of elbow grease. The beauty of home aging whiskey lies in the ability to tailor the final product to your precise palate. You have complete control over the aging duration and the types of barrels employed, resulting in a truly personalized spirit.
The fundamental process is quite straightforward. Begin with your preferred unaged whiskey (be it rye whiskey, bourbon whiskey, or even a new make spirit) and carefully pour it into a charred oak barrel. Seal it securely and store it in a cool, dry place for a minimum of several months, allowing it to mature into your custom creation. As the whiskey interacts with the wood, it extracts both color and flavor compounds. The longer it ages, the more intricate and nuanced the flavor profile becomes. Periodically monitor your barrel to ensure the aging process is progressing to your liking. Once it achieves the perfect level of oak influence and smoothness for your taste, bottle it up and savor the fruits of your labor! Home aged whiskey also makes for a thoughtful and impressive gift for any whiskey enthusiast.
Give the art of barrel aging a try. You’ll be enjoying your own smooth, mellow whiskey before you know it. The results are incredibly rewarding, and the journey itself is half the pleasure. There’s nothing quite like relishing the fruits of your own efforts, or sharing a glass of your homemade aged whiskey with cherished friends.
What Is Barrel Aging and Why Age Your Own Whiskey?
Barrel aging whiskey refers to the practice of maturing distilled spirits in charred oak barrels to impart flavor and color. Through this process, the spirit gradually develops a smoother and more complex taste. By embarking on home aging whiskey, you gain the unique opportunity to create a custom spirit that perfectly aligns with your individual preferences.
Home aging whiskey is a gratifying and accessible pursuit. The essentials include small oak barrels, unaged white dog (typically a clear, unaged corn whiskey), and, of course, patience. The white dog extracts desirable flavor compounds from the wood, such as vanilla, caramel, and oaky notes, with the intensity increasing over time. Regular tasting is key to determining when the spirit has achieved your ideal balance of smoothness and oak character.
- Source a high-quality unaged white dog from a reputable craft distillery. For home aging, two to five gallons is a practical quantity.
- Carefully select charred oak barrels. Small barrels facilitate faster aging due to the increased wood-to-spirit contact. Charred barrels contribute more pronounced flavor.
- Fill the barrels completely, minimizing headspace. Seal them tightly and store them in a cool environment, shielded from direct light.
- Begin sampling your whiskey regularly around the 6-12 month mark. The aging process can take anywhere from 2 to 5 years to yield a beautifully mellow and oak-infused whiskey.
- Bottle and enjoy your custom aged whiskey! Share it with friends or reserve it for special occasions.
The rewards of aging your own whiskey are immense. With a bit of patience, you can craft a spirit that is perfectly tailored to your taste. Relish the fruits of your labor and savor the smooth, oak-infused character of your homemade aged whiskey.
Selecting the Right Whiskey for Barrel Aging
Now that you’ve decided to embark on aging your own whiskey, the next crucial step is choosing the spirit you wish to mature. For optimal results, opt for an unaged or minimally aged whiskey, typically derived from grains such as corn, rye, or malted barley.
Bourbon whiskey is an excellent choice. Crafted from a mash bill containing at least 51% corn, it possesses a subtle sweetness that is further enhanced through barrel aging. Rye whiskey, with a mash bill of at least 51% rye, will impart spicy, peppery notes to your spirit. For those seeking a smoky character, consider an unaged malt whiskey made from malted barley.
It’s best to steer clear of spirits that have already undergone significant aging, such as aged Scotch or aged rum. Additionally, avoid any flavored, spiced, or sweetened liquors, as they will not benefit from the barrel aging process. Aim for a high-proof spirit, ideally above 45% ABV; the higher alcohol content facilitates the extraction of flavors from the wood.
Once you’ve identified a few potential options, conduct some taste tests to determine your favorite. Consider the specific flavors you wish to impart from the barrel and which base spirit would complement them harmoniously. The inherent qualities of the raw spirit are just as vital as the characteristics of the barrel in crafting a truly exceptional aged whiskey.
With a high-quality base spirit selected, you’re ready to choose your barrel, fill it, and commence the aging journey. In a matter of months, or perhaps a few years, you’ll be enjoying a homemade aged whiskey meticulously customized to your liking. Not a bad way to unwind after all that effort!
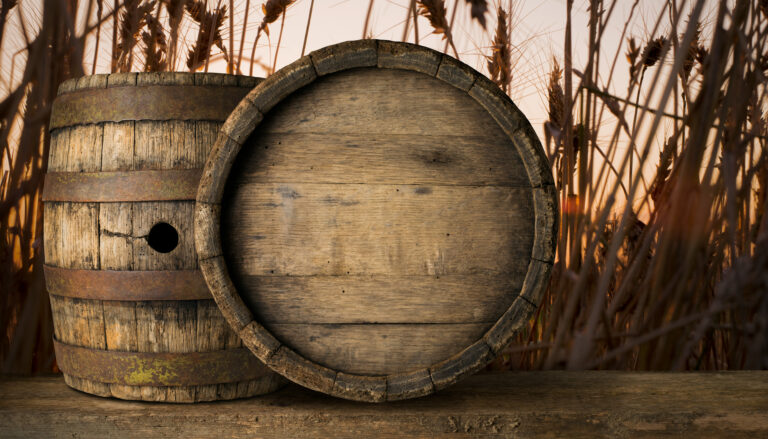
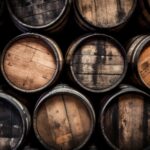
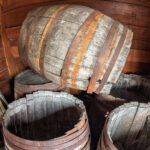
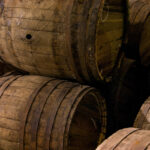
Choosing the Best Barrels for Home Aging
When aging whiskey at home, the barrels you select are of paramount importance. The wood type, char level, and previous use all significantly influence the flavor profile of your maturing spirit. Here are some key factors to consider when choosing barrels:
Wood Type
Oak is the traditional wood of choice for aging whiskey. American white oak and French oak are two popular options. American white oak, characterized by its tight grain and moisture resistance, imparts flavors such as vanilla, caramel, and spice. French oak, on the other hand, contributes notes of dried fruit and nuttiness. Both can yield excellent results, so the selection ultimately depends on your personal flavor preferences.
Char Level
The char level refers to the extent to which the interior of the barrel has been burned. A higher char level results in the release of more flavor compounds into the whiskey. For a balanced whiskey with approachable oakiness, opt for a level 1 or 2 char. Level 3 and 4 chars produce more intense smoky flavors, ideal for a bolder whiskey. For your initial batch, it’s advisable to start with a moderate char level and adjust in subsequent batches based on your taste.
New or Used
New barrels, often referred to as “virgin” barrels, will impart a more pronounced oak flavor compared to used barrels. Used barrels, which have previously aged spirits such as bourbon or wine, have already released some of their flavor compounds, resulting in a mellower flavor profile. For a classic, oaky whiskey, new barrels are an excellent choice. Used barrels yield a more subtle and complex flavor. Both can produce great whiskey, so consider your desired level of oak influence.
Barrel Size
The most common barrel sizes for home aging range from 5 to 30 gallons. Smaller barrels promote faster aging due to the increased surface area. However, larger barrels tend to produce a smoother, more mellow flavor. For your first batch, a 10 to 15-gallon barrel is a good starting point, allowing you to sample and bottle some whiskey within 6 to 18 months while reserving some for further aging.
With high-quality barrels and a touch of patience, you’ll be sipping your own custom-aged whiskey in no time. The barrels you choose play a fundamental role in shaping the flavor profile you desire, so take your time and enjoy the process! Home aging whiskey is a rewarding hobby for those who appreciate attention to detail.
Preparing and Charring the Barrel
Properly prepping your barrel is a crucial step in aging whiskey at home. You’ll need to clean and char the interior of the barrel to impart the desired flavor to the spirit.
Ideally, find a barrel that previously held spirits such as wine, sherry, or bourbon. Give it a thorough rinse with hot water to remove any residual substances. Allow it to dry completely to prevent the growth of mold.
Next comes the charring process. Charring the wood caramelizes the natural sugars in the oak, contributing to the distinctive flavor of aged whiskey. You can char the barrel yourself using a blowtorch, or you can have a cooperage shop perform this task for you.
If you opt for the DIY approach, initiate a small fire at the bottom of the barrel using wood chips or oak staves. Once the fire is burning, carefully lift and rotate the barrel to ensure even distribution of the flames. The wood should turn black and exhibit a slight char. Extinguish the fire before the charring becomes excessive. The char layer should ideally be around 1/8 of an inch thick.
An alternative method involves using a handheld propane torch. Carefully move the torch back and forth over the interior of the barrel until the desired char level is achieved. Work slowly in sections, rotating the barrel as you proceed.
After charring, allow the barrel to cool completely. Use a damp cloth to wipe away any stray ash and loose bits of char. Your barrel is now prepared to be filled with distilled white spirits for aging and maturation into whiskey.
The charring process can be somewhat tricky, so it’s essential to take appropriate safety precautions. Since charring the barrel at home involves an open flame, ensure you do it in a well-ventilated area, away from any flammable materials. Keep a fire extinguisher readily available in case of emergencies. Protective gear such as heat-resistant gloves, goggles, and a respirator mask are also highly recommended.
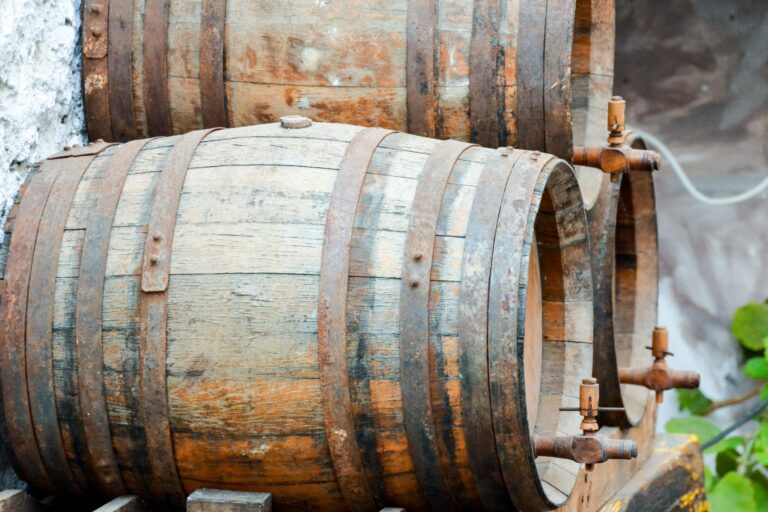
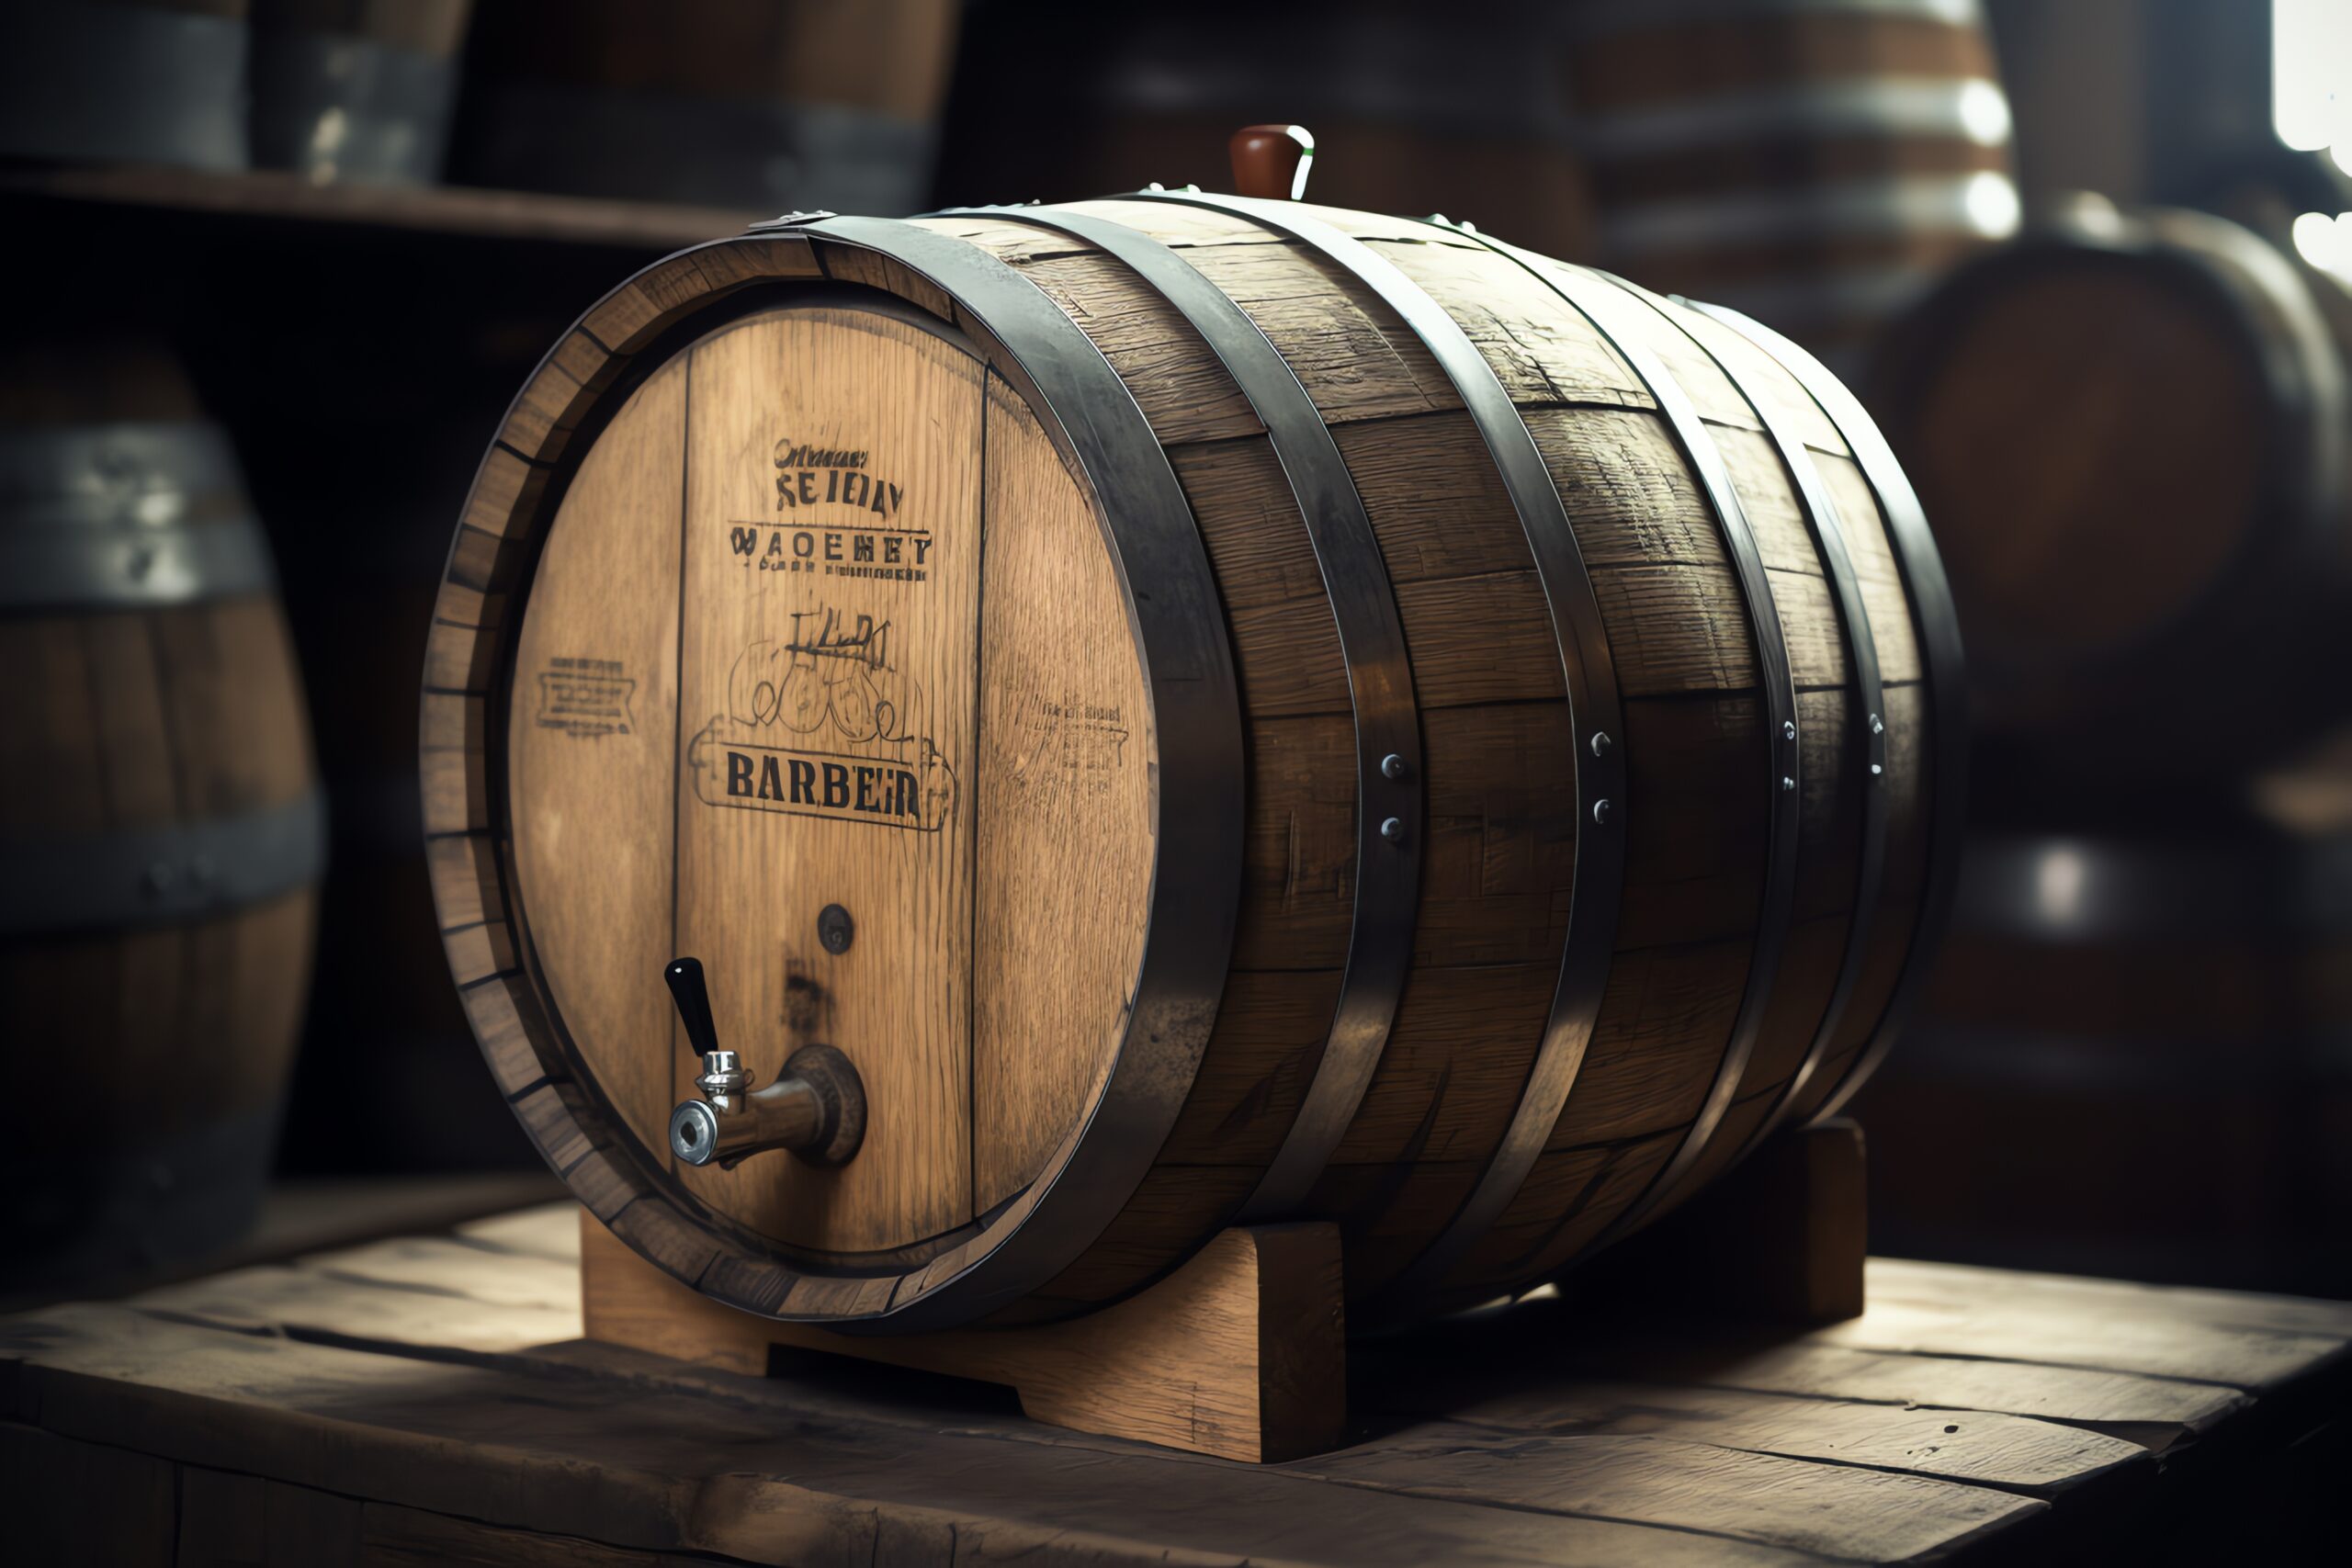
Filling and Storing the Barrel
With your barrel now assembled and prepared, it’s time to fill it and initiate the aging process. This step is crucial in developing the distinct flavor of your whiskey.
Filling the Barrel
Employ a funnel to carefully pour your distilled white whiskey into the barrel. Fill it to approximately 70-80% capacity. During the aging process, some of the alcohol will evaporate, a phenomenon known as the “angel’s share.” Leaving some headspace allows the barrel to breathe.
Sealing the Barrel
Once filled, seal your barrel tightly. Position the flat lid on top and secure it in place by hammering the metal hoops down over it. This prevents oxygen from entering and alcohol from escaping.
Storing the Barrel
Select a cool, dry location to store your barrel. A basement, garage, or shed are all suitable options. The ideal temperature range is between 55 to 70°F. Fluctuating or extreme heat can accelerate aging and alter the flavor profile.
Your whiskey needs to rest in the barrel for a minimum of 2 years to develop its characteristic amber color and smooth, woody taste. Longer aging periods result in a more complex flavor. Most craft distillers age their whiskey for 2 to 5 years.
Exercise patience – good things come to those who wait! While your whiskey slumbers in the barrel, the wood expands and contracts, imparting its distinctive aroma compounds into the spirit. Periodically sample your whiskey by drawing a small amount from the barrel’s bunghole. This allows you to monitor the development and mellowing of the flavor over time.
Once the whiskey has aged to your satisfaction, you can bottle your homemade whiskey and enjoy the fruits of your labor! Sip it neat, on the rocks, or in a classic cocktail. Share it with friends and family, or even consider entering your whiskey in a craft spirits competition. Regardless of how you choose to enjoy it, you’ll have a taste of history in every bottle.
Monitoring and Sampling Throughout the Aging Process
As the whiskey ages within the barrel, it’s crucial to monitor its progress and check on it regularly. You’ll want to ensure the barrel remains properly sealed, the temperature remains consistent, and there are no leaks or other issues. Aim to inspect the barrel every few months.
- Carefully examine the barrel for any cracks, holes, or leaks, and address them promptly. Exposure to air can compromise the whiskey.
- Check that the spigot and any other hardware remain securely in place. Tighten or replace them as needed.
- Ensure the barrel is level. An uneven barrel can lead to uneven aging of the whiskey. Re-level the barrel if it’s tilted.
- Record the fill level to track evaporation. Some evaporation is normal, known as the “angel’s share.” If the evaporation seems excessive, you may need to top off the barrel.
As the whiskey ages, it will acquire a rich amber color and develop complex flavors. The only way to truly assess its progress is through sampling. You can begin sampling around the 6-month mark.
Drawing Samples
- Sanitize the spigot and your sampling equipment before drawing any whiskey. This helps prevent contamination of the barrel.
- Only draw a small amount of whiskey, approximately 4 to 6 ounces at a time. Drawing larger samples can disrupt the aging process.
- Replenish what you sample. Add distilled water or new make spirit to maintain the fill level. This helps maintain a consistent ratio of air to whiskey within the barrel.
- Record your tasting notes each time you sample. Note the flavors and aromas you detect, such as vanilla, caramel, or oak. Observe how they evolve over time.
- Consider bottling some samples to compare them from month to month or year to year. This allows you to experience the gradual evolution of the whiskey’s taste as it matures.
Regularly monitoring your barrel and sampling the whiskey allows you to truly craft the spirit to your liking. You have control over when it’s ready for bottling and how it will ultimately taste. With care and patience, you’ll have a custom aged whiskey to enjoy for years to come.
Determining When Your Whiskey Is Ready
Once your whiskey has aged for a minimum of a few months in the barrel, it’s time to begin assessing its readiness. Several indicators can help you determine if it’s ready for bottling.
Color
As whiskey ages, it will deepen in color, transitioning to an amber hue. For bourbon, you’re aiming for a deep copper color. Monitor your whiskey’s color monthly by drawing a small sample from the barrel. When it reaches the appropriate shade of amber for the type of whiskey you’re making, it’s nearing readiness.
Aroma
The aroma of the whiskey will become more complex over time, developing enticing scents of vanilla, caramel, oak, and spice. Initially, the aroma may be quite harsh and potent. However, after 3-6 months, it will mellow and become pleasantly fragrant. Once you detect a balanced, rich bouquet, the whiskey is approaching maturity.
Taste
Most importantly, taste your whiskey regularly to determine if it has achieved a flavor profile you enjoy. Initially, it may taste quite bitter and abrasive. But over time, the harsher notes will subside, giving way to smooth, mellow flavors of nuts, fruit, and oak.
- For bourbon, you’re looking for sweet flavors of caramel and vanilla harmoniously balanced with oak and spice.
- For rye whiskey, detect notes of toasted bread, clove, and black pepper.
- For Scotch, seek out dried fruit, smoke, and peat flavors.
When you find the taste pleasant, complex, and balanced, with no harsh edges, your whiskey is ready for bottling. However, if you desire an even smoother, more refined flavor, continue aging it for a few more months. Patience is essential, so avoid bottling before the whiskey reaches its full potential.
With regular sampling and careful observation, you’ll develop an intuitive sense of when your homemade whiskey has reached perfection. Then you can proudly bottle your handcrafted spirit and begin enjoying the fruits of your labor!
Bottling and Enjoying Your Barrel Aged Whiskey
Congratulations, your whiskey has been aging in the barrel for the required time and is ready to be bottled! Bottling and enjoying your homemade barrel-aged whiskey is a rewarding culmination of all your hard work.
Preparing the Bottles
Ensure you have sterilized bottles, corks or stoppers, and a funnel prepared. Sterilize everything in a large pot of boiling water for at least 10 minutes to eliminate any bacteria. Allow the equipment to air dry completely before use. You may also want to prepare labels for your bottles, especially if you plan to give them as gifts.
Filtration (Optional)
You may choose to filter your whiskey before bottling to enhance clarity and smoothness. Use a cheesecloth or fine metal kitchen strainer to remove any charcoal particles. For even finer filtration, use a paper coffee filter. This step is optional but can improve the quality of the final product.
Bottling and Corking
Carefully pour your whiskey through the sterilized funnel into the bottles. Fill each bottle to approximately 1 inch below the cork. Insert the corks and seal the bottles. Your whiskey is now ready to be enjoyed and shared!
Tasting and Enjoying
Once bottled, allow the whiskey to rest for a week before tasting, giving the flavors time to settle. Your first taste of the homemade barrel-aged whiskey is a moment to savor. Invite some friends over to share the experience and compare notes on the aromas and flavors. Your whiskey can be enjoyed neat, on the rocks, or in classic cocktails. Over time, the whiskey may continue to become smoother and mellower.
Aging and bottling your own whiskey is a deeply rewarding hobby. With care and patience, you can cultivate a spirits collection that you can be truly proud of. Above all, enjoy the fruits of your labor and happy distilling!
FAQs: Common Questions About Aging Whiskey at Home
Aging whiskey at home often raises numerous questions for beginners. Here are some of the most frequently asked ones:
How long does it take to age whiskey?
The aging process is variable and depends on factors such as the type of barrel used and ambient climate conditions. Typically, whiskey ages at a rate of approximately 2% per year. So, if you begin with 5 gallons of distilled spirit, you can expect to yield about 4 gallons of aged whiskey after 1 year. For most small barrels, a 2-5 year aging period is generally recommended.
What kind of barrel should I use?
Small barrels, such as 5 and 10 liters, are well-suited for home aging and accelerate the process. Charred white American oak barrels are ideal, as they impart desirable flavor and color to the whiskey. You can also find barrels that previously held wine, rum, or brandy. Ensure that any barrels you use are food-grade.
How often should I check the barrel?
It’s advisable to check your barrel every 4 to 6 weeks. Monitor the whiskey for flavor development and ensure the barrel remains airtight. You may need to top off the barrel with more distilled spirit to prevent excessive air exposure. Also, inspect for any leaks and re-seal the barrel if necessary.
Can I reuse barrels?
Barrels can typically be reused to age 2-3 batches of whiskey before the oak flavor becomes overly dominant. After emptying a barrel, rinse it with hot water to remove any residue. Allow it to dry completely before refilling it. The subsequent batch may age slightly faster, so you may need to reduce the aging time.
How do I know when it’s ready?
There are several indicators to help you determine when your whiskey is ready:
- Taste it: When the whiskey exhibits a smooth, mellow flavor with noticeable oak undertones, it’s likely reached a good level of aging. Harsh, bitter tastes indicate that it requires more time in the barrel.
- Check the color: Whiskey deepens in color to an amber hue as it ages. A darker, reddish color often signifies a longer aging period.
- Measure the ABV: The alcohol by volume (ABV) will slightly decrease over time due to evaporation (the “angel’s share”). A lower ABV, typically in the range of 40-50%, usually suggests that the whiskey has matured fully.
- Oak flavor: Pay attention to the aroma and taste for notes of vanilla, caramel, and toasted oak. A balanced oakiness complemented by a subtle sweetness is a sign that your whiskey is optimally aged.
Final Thoughts
So, what are you waiting for? You now possess the essential knowledge to embark on the journey of aging your own whiskey at home. Acquire a suitable barrel, source some high-quality unaged spirits, and prepare to exercise patience as time works its transformative magic. In a relatively short period, you’ll be rewarded with a bottle of smooth, complex, homemade whiskey that you can proudly share with friends and family. Home aging whiskey is an engaging, hands-on hobby that allows you to participate in an age-old tradition and ultimately create a product that is uniquely your own. Start experimenting today – your future self will undoubtedly thank you for it!