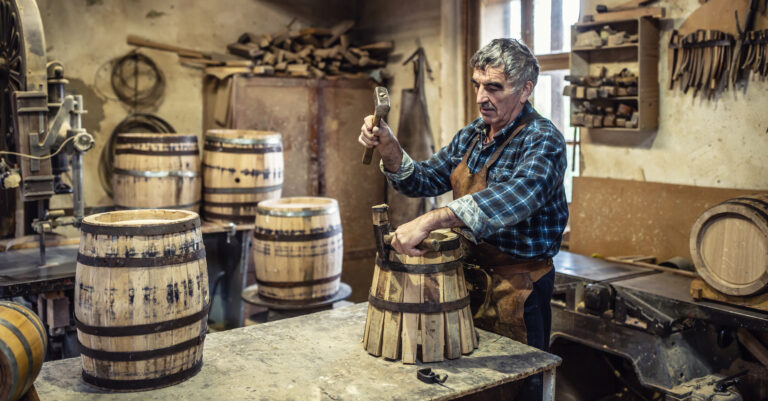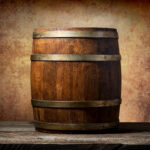
Okay, you finally scored that authentic whiskey barrel. It’s been sitting in your garage (or maybe proudly displayed in your living room), whispering promises of rustic charm and DIY potential. But let’s be honest, admiring it from afar isn’t going to unleash its magic. This isn’t just any old barrel; it’s a piece of history, steeped in the aroma of fine spirits, and begging to be transformed into something extraordinary. Forget those mass-produced, soulless pieces you find in furniture stores. We’re going to turn this barrel into a reflection of your unique style, a conversation starter that adds warmth and personality to your home. Think handcrafted furniture with a story to tell, garden features that burst with character, and even a cozy haven for your furry friend.
More Than Just a Barrel: Exploring the Possibilities
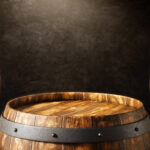
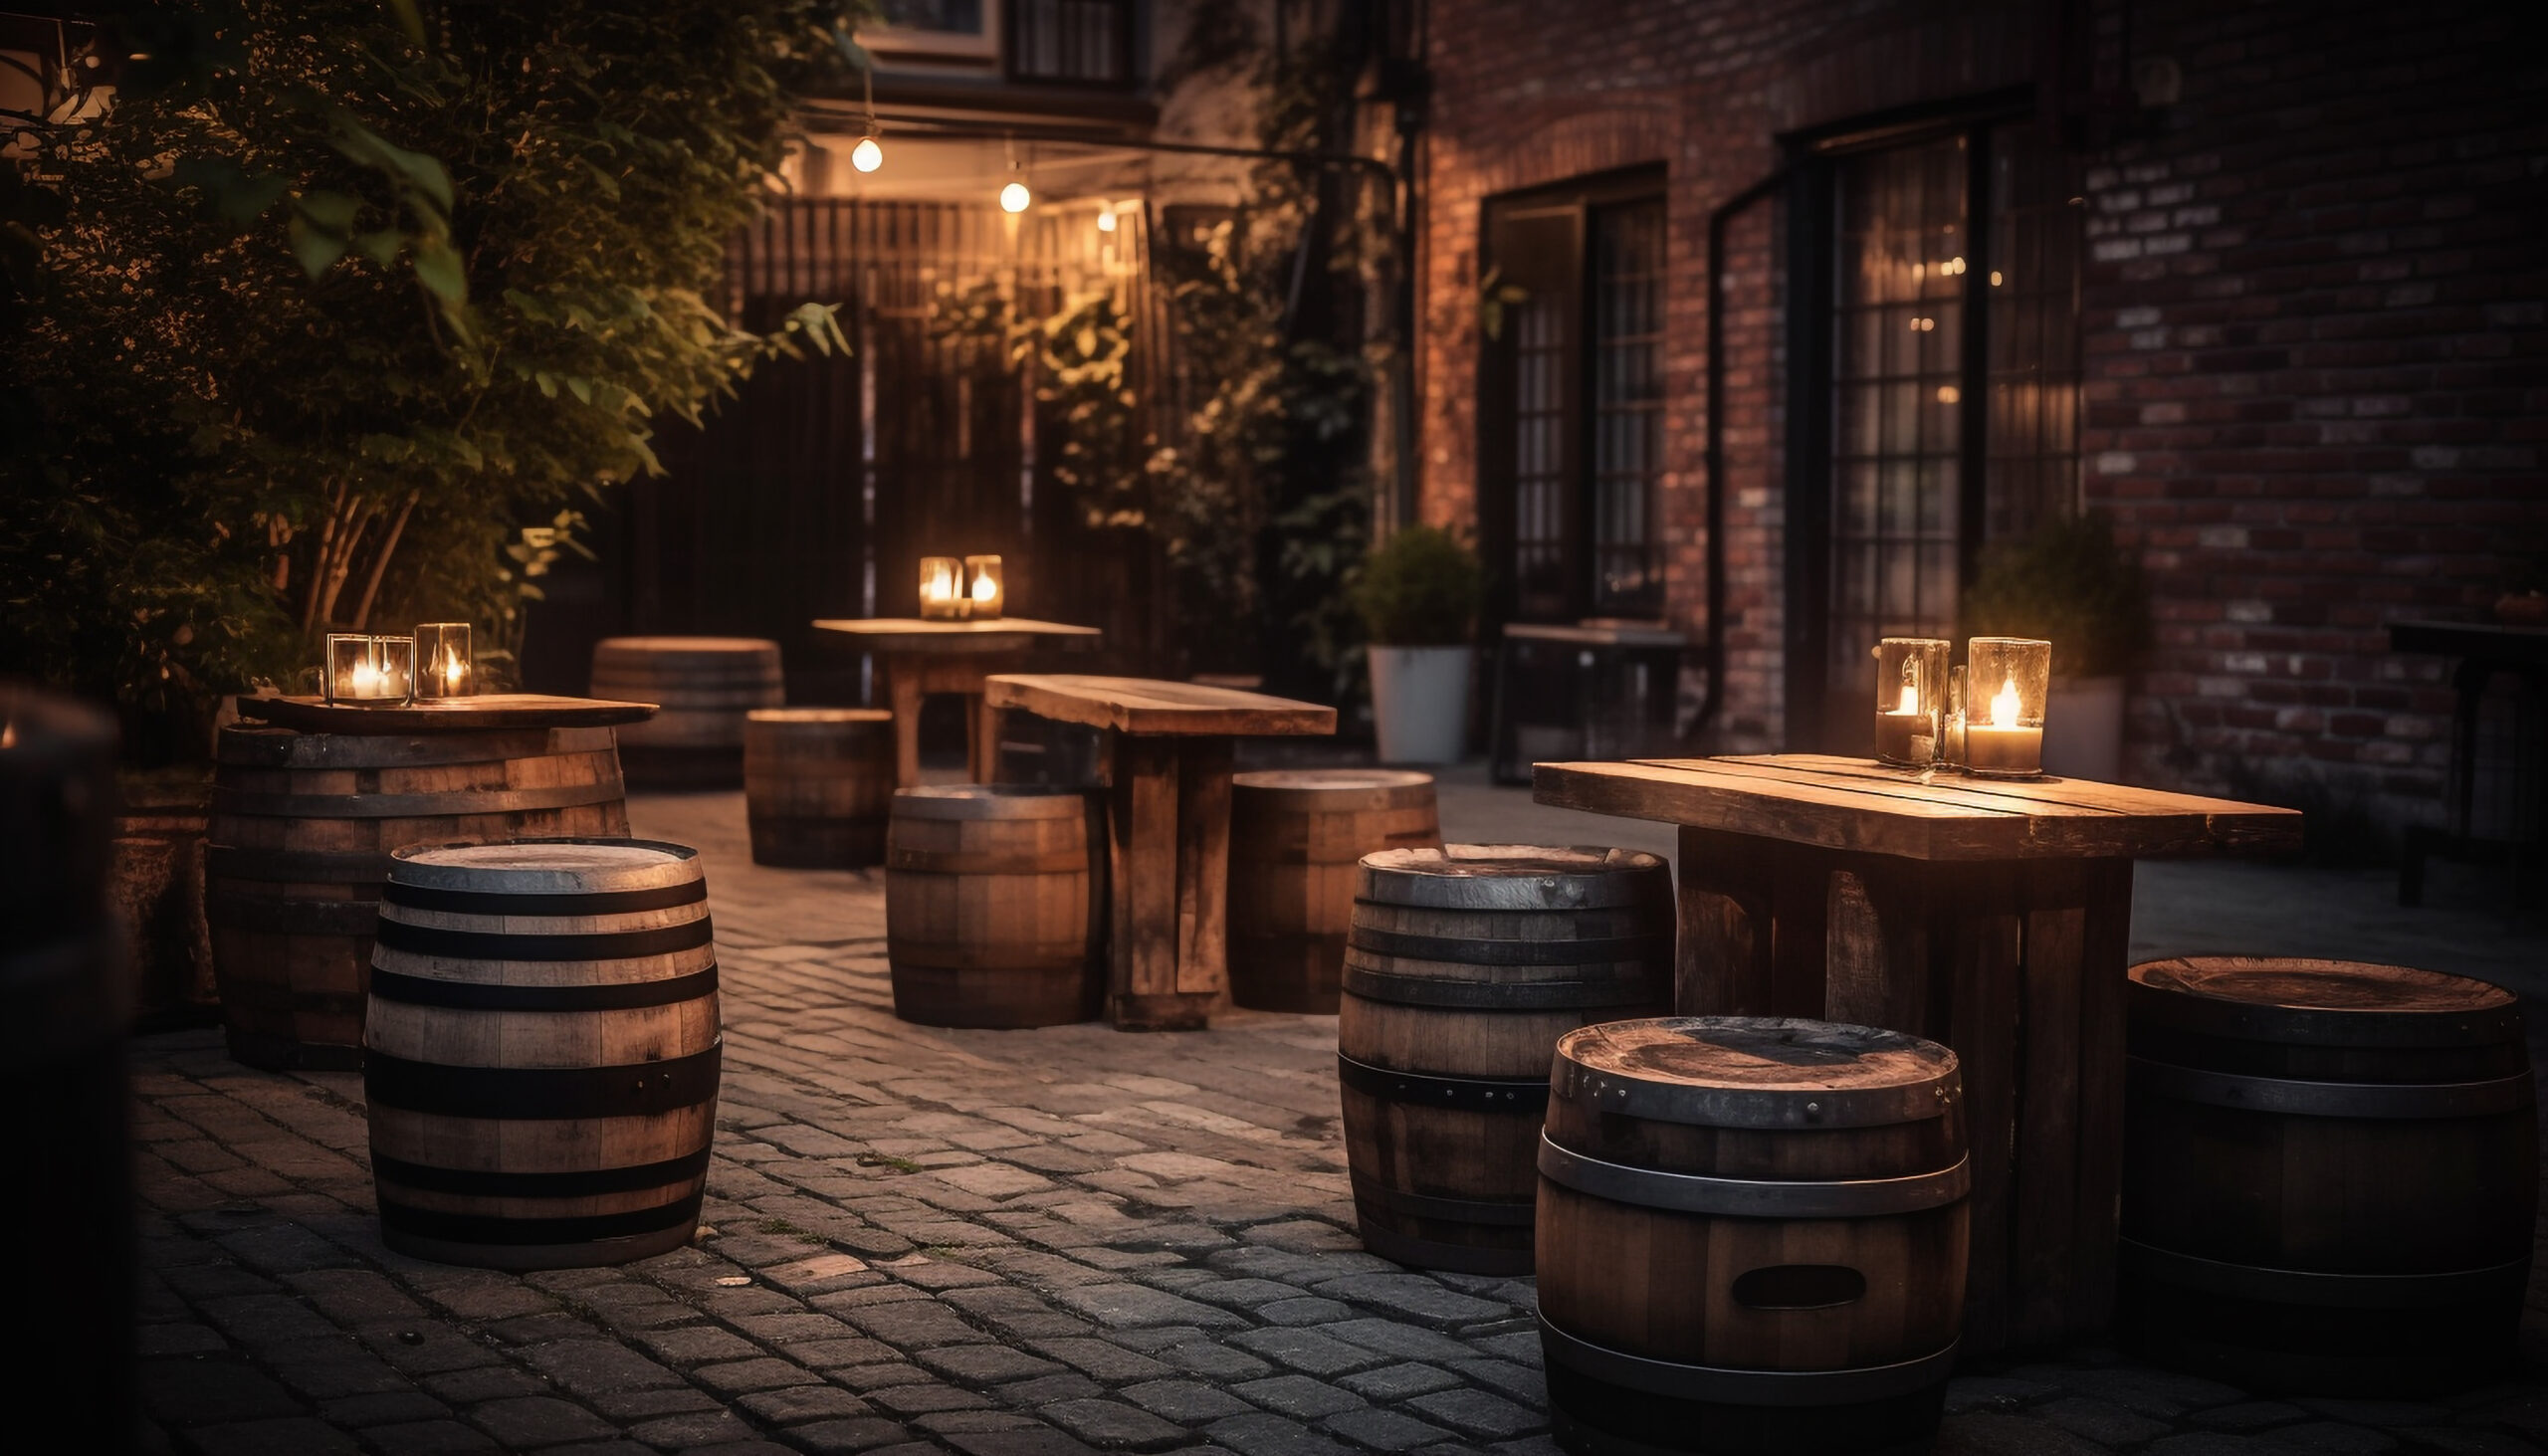
These barrels have lived a life, haven’t they? After years of aging the finest whiskeys, they’re often discarded, their potential overlooked. But we’re not going to let that happen. We’re going to breathe new life into this barrel, infusing your home with that rustic, lived-in vibe that’s so sought-after. Imagine a sturdy side table nestled beside your favorite reading chair, its weathered oak surface whispering tales of its past. Or picture a plush ottoman in your living room, inviting you to kick back and relax after a long day. Need extra storage in your kitchen? Simply slice off the top third of the barrel, and voilà! You have a spacious container for utensils, linens, or dry goods. And for those with a green thumb, a planter crafted from a whiskey barrel is a match made in heaven, perfect for showcasing herbs, succulents, or even a cascading vine.
Feeling ambitious? Why not try your hand at building a barrel chair or a barstool? It’s a DIY project that will not only impress your guests but also provide you with a unique and comfortable seating option. For the garden enthusiasts, a halved barrel planter is an ideal home for vibrant flowers, aromatic herbs, or even a small fruit tree, adding a touch of rustic elegance to your outdoor space. Hosting a get-together? That whiskey barrel can effortlessly transform into an ice bucket to keep your drinks chilled, a bar cart to showcase your cocktail-making skills, or even a smoker to infuse your meats and cheeses with that irresistible smoky flavor. But the possibilities don’t stop there. A rain barrel to conserve water, a fire pit to gather around on cool evenings, a whimsical birdhouse to attract feathered friends – the only limit is your imagination. So grab your tools, unleash your creativity, and let’s turn that unassuming barrel into a masterpiece that will be the envy of your friends.
Crafting a Coffee Table with Character: The Heart of Your Living Room
That whiskey barrel is practically begging to be transformed into a coffee table, isn’t it? It’s the perfect way to bring that rustic, lived-in feel into your living space.
Gathering Your DIY Supplies:
- The whiskey barrel, of course, the star of the show
- Sturdy legs or a base – think industrial metal or reclaimed wood for a cohesive look
- High-quality wood sealant – we want to protect that beautiful oak and prevent any spills from ruining the finish
- Tools of the trade: drill/driver, sandpaper in various grits for a smooth finish, brushes for applying the sealant, and a measuring tape to ensure everything is perfectly aligned
The Transformation Begins:
First things first, let’s give that barrel a good scrub. Wipe away any dust, dirt, or cobwebs that may have accumulated. Then, grab your sandpaper and lightly sand down any rough spots, both inside and out. If you encounter any stubborn stains inside the barrel, a mixture of water and vinegar should do the trick. Now, for the legs. You have a couple of options here. You can either cut four sturdy boards to equal length and screw them into the underside of the barrel rim at an angle for maximum stability, or you can purchase pre-made barrel table legs and attach them according to the manufacturer’s instructions. Once the legs are securely in place, it’s time to seal the wood. Apply two to three coats of sealant, allowing each coat to dry completely before applying the next. This will protect the wood from moisture, prevent splinters, and ensure your coffee table stands the test of time. Want to add a bit of personality? Consider distressing the wood for an antique look, adding metal bands for an industrial touch, or placing a custom-cut glass top for easy cleaning and a touch of sophistication.
Rolling Out the Bar Cart: Let the Good Times Flow
Let’s get this party started! Transforming that whiskey barrel into a mobile bar cart is easier than you might think, and it’s the perfect way to entertain your guests in style.
Stocking Up on Supplies:
- The whiskey barrel, ready for its new role as the life of the party
- Heavy-duty wheels or casters – look for ones with locking mechanisms to keep your bar cart securely in place
- Sandpaper in various grits – we want a smooth surface for the finish
- Wood filler – to repair any cracks or imperfections
- Primer – to prepare the surface for painting or staining
- Paint or stain – choose a color that complements your décor
- Durable polyurethane sealant – to protect your bar cart from spills and wear and tear
- Handles – optional, but highly recommended for easy maneuvering
The DIY Journey:
Start by giving the barrel a thorough sanding, removing any rough spots and preparing the surface for finishing. If you encounter any cracks or holes, fill them with wood filler, allow it to dry completely, and then sand it smooth. Next, apply two to three coats of primer, allowing each coat to dry completely before lightly sanding. Now for the fun part – painting or staining! Choose a color that reflects your personal style and complements your existing décor. Apply multiple coats for a rich, even finish. Once the paint or stain has dried, it’s time to seal the deal. Apply several coats of polyurethane sealant, ensuring each coat dries completely before applying the next. This will protect your bar cart from spills, moisture, and general wear and tear. Now, let’s get it rolling! Attach the wheels or casters to the bottom of the barrel, making sure they are securely fastened. Adding handles to the sides of the barrel will make it easier to move around, especially when it’s fully stocked. Fill your new bar cart with your favorite glasses, bottles, and bar tools, and get ready to impress your guests with your DIY skills and impeccable taste.
A Flourishing Herb Garden: Bringing the Outdoors In
Imagine stepping out your door and snipping fresh herbs for your culinary creations. With a whiskey barrel herb garden, you can bring the flavors of the outdoors right to your kitchen.
Setting the Stage for Growth:
- Your trusty whiskey barrel, ready to nurture new life
- High-quality potting soil – the foundation for healthy herbs
- Gravel or perlite – to ensure proper drainage and prevent root rot
- A selection of your favorite herbs – think basil, rosemary, thyme, mint, and more
Planting and Caring for Your Herb Haven:
First things first, choose a sunny spot for your herb garden, preferably one that receives at least six hours of direct sunlight per day. Drill several drainage holes in the bottom of the barrel to prevent waterlogging. To further enhance drainage, place the barrel on a plant stand or wooden blocks, elevating it slightly and allowing excess water to escape. Fill the barrel with a high-quality potting mix, ensuring it’s loose and well-draining. Now for the fun part – planting your herbs! Arrange them according to their light and water requirements, giving them ample space to grow and flourish. Water the herbs regularly, allowing the soil to dry out slightly between waterings. To encourage healthy growth and abundant foliage, fertilize your herbs during the growing season with a balanced, all-purpose fertilizer. And don’t forget to prune them regularly! This will promote bushier growth and prevent them from becoming leggy.
Building a Rustic Outdoor Sink: Embrace the Elements
There’s something undeniably charming about an outdoor sink, especially one crafted from a weathered whiskey barrel. It’s the perfect addition to any garden or patio, providing a convenient spot to wash your hands, rinse produce, or fill watering cans.
Gathering the Necessary Components:
- Your used whiskey barrel, ready for its outdoor makeover
- Sink drain hardware – including a basket strainer, tailpiece, and P-trap
- Outdoor faucet – choose one that complements the rustic aesthetic
- Waterproof wood sealant – marine-grade sealant is ideal for outdoor use
- Basic plumbing tools – wrenches, pipe cutter, and plumber’s putty
The Installation Process:
Before you begin, give the inside of the barrel a thorough cleaning and apply several coats of waterproof sealant, paying extra attention to the seams and joints. This will protect the wood from moisture and ensure the longevity of your outdoor sink. Next, cut a circular hole in the center of the barrel head, just large enough to accommodate the sink drain. Install the drain hardware, ensuring a watertight seal using plumber’s putty. Now, attach the outdoor faucet, connecting it to your home’s plumbing or, for a more sustainable approach, a rain barrel to collect rainwater. Your rustic outdoor sink is now ready to enhance your outdoor space, providing both functionality and charm.
Crafting a Backyard Swing or Hammock Hangout: Relax in Style
Whether you’re looking to create a playful space for children or a peaceful retreat for yourself, a whiskey barrel swing or hammock stand is the perfect addition to your backyard.
Gathering the Lumber and Hardware:
- 4×4 lumber posts – pressure-treated for outdoor durability
- Heavy-duty eye bolts – to securely attach the swing or hammock
- Galvanized chains or sturdy rope – choose the option that best suits your style
- Wooden board for the swing seat – or a comfortable hammock for ultimate relaxation
- Concrete mix – to ensure the stability of your swing or hammock stand
Building Your Outdoor Oasis:
For a swing, begin by digging post holes about 2 to 3 feet deep, spacing the posts about 6 to 8 feet apart. Set the posts in concrete, ensuring they are level and plumb. Once the concrete has cured, attach the eye bolts to the top of the posts. Connect the chains or rope to the eye bolts and the swing seat. Before letting anyone hop on, test the swing to ensure it’s secure and stable. For a hammock stand, create a rectangular frame with the 4×4 posts, connecting the hammock to each end of the frame using eye bolts or rope. Bury at least one foot of each post in concrete for stability. Now, all that’s left to do is relax and enjoy the gentle sway of your swing or hammock.
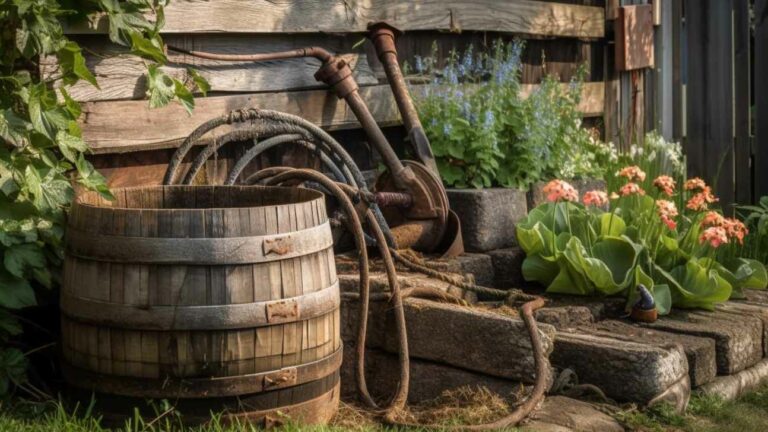
Whiskey Barrel Planters: Adding a Touch of Rustic Charm to Your Garden
Let’s transform those weathered whiskey barrels into stunning planters that will elevate your garden’s aesthetic and showcase your favorite plants.
Preparing the Planting Space:
- Your used whiskey barrel, ready to embrace its new role as a planter
- High-quality potting soil – the key to happy and healthy plants
- Gravel or perlite – for drainage, preventing waterlogging and root rot
- A selection of plants – choose flowers, herbs, succulents, or even small trees
Planting and Caring for Your Green Companions:
Begin by cleaning out the barrel and rinsing it with water. Drill several drainage holes in the bottom of the barrel to ensure excess water can escape. Add a layer of gravel or perlite to the bottom for drainage, followed by a generous amount of potting soil. Now, it’s time to introduce your plants to their new home. Place them in the soil, ensuring they are at the same depth as they were in their original containers. Water the plants thoroughly after repotting, giving them a good drink to settle in. Place the barrel in a sunny spot in your garden, where it can receive the amount of sunlight required by the plants you’ve chosen. Water the plants regularly, allowing the top few inches of soil to dry out between waterings. Fertilize during the growing season to encourage healthy growth and vibrant blooms. Repot with fresh potting soil every 2-3 years to replenish nutrients and provide ample space for your plants to thrive.
Fashioning a Custom Whiskey Barrel Dog House: A Cozy Retreat for Your Furry Friend
Why settle for a boring, store-bought dog house when you can create a unique and stylish haven for your furry friend using a repurposed whiskey barrel?
Building the Canine Condo:
- Your used whiskey barrel, ready to be transformed into a cozy retreat
- Waterproof plywood – to create a sturdy and comfortable floor
- Waterproof wood glue – for a strong and lasting bond
- Galvanized nails – to securely fasten the plywood floor
- Wire mesh or screen – for ventilation and to keep out unwanted pests
- Hinges and a latch – to create a functional door
- Weather-resistant sealant – to protect the wood from the elements
Creating a Home Away from Home for Your Pup:
Start by emptying, cleaning, and drying the barrel thoroughly. Cut a circle of waterproof plywood to fit snugly inside the bottom of the barrel, creating a solid and comfortable floor for your dog. Secure the plywood in place using waterproof wood glue and galvanized nails. Next, cut a semicircle arch in one side of the barrel to create a doorway. Attach the cutout piece to the top half of the opening using hinges, creating a swinging door. Install a latch to keep the door securely closed. To ensure proper ventilation, attach wire mesh or screen over the open end of the barrel. This will allow fresh air to circulate while keeping out unwanted pests. Finally, apply a coat of weather-resistant sealant to the entire outside of the barrel, protecting the wood from rain, snow, and sun damage. Your furry friend will love their new, stylish, and cozy home.
Whiskey Barrel FAQs: Addressing Your Burning Questions
- Do used whiskey barrels still smell like whiskey? Yes, the aroma of whiskey can linger in the wood, but it will gradually fade over time. You can speed up the process by rinsing the barrel with a mixture of water and vinegar.
- Will a used whiskey barrel impart flavor to anything stored inside? To some extent, yes. The whiskey-soaked wood can infuse subtle flavors into liquids or foods stored inside. However, the intensity of the flavor will diminish over time.
- Do used whiskey barrels need to be re-charred or re-toasted before reusing? Re-charring or re-toasting is optional and depends on the intended use of the barrel. If you plan to use it for aging beverages or foods, re-charring can enhance flavor extraction.
- How long do used whiskey barrels last? With proper care and maintenance, a used whiskey barrel can last for several years, providing you with enjoyment and functionality for years to come.
Final Thoughts: Embracing the Beauty of Repurposing
By repurposing used whiskey barrels, you’re not only creating unique and functional items for your home and garden, but you’re also contributing to a more sustainable lifestyle. These barrels, once destined for the landfill, are given a new lease on life, their history and character woven into your creations. Each piece you craft will tell a story, a testament to your creativity and resourcefulness. So embrace the beauty of repurposing, unleash your DIY spirit, and transform those whiskey barrels into treasures that will be cherished for years to come.