Ever held one of those charming little miniature whiskey barrels? The kind that cradles just a few precious ounces of your favorite dram? Ever wondered about the hands that shape them? It’s less a task, more a patient dance between wood and will, a craft deeply rooted in both woodworking wisdom and a love for whiskey. The coopers, these modern-day alchemists of the barrel, are part wood whisperer, part spirit steward, and wholly artisan. From the careful selection of the finest white oak staves to the meticulous shaping of the hand-fitted metal hardware, every nuance sings when you’re capturing the very soul of whiskey in a miniature work of art. If you find joy in a perfectly mixed cocktail or the smooth touch of well-worked wood, the enchantment of these mini barrels will surely resonate. So, pour yourself a finger of your go-to bourbon or scotch, and let’s delve into the heart and hands behind these delightful diminutives. The art of the miniature whiskey barrel? It’s a tradition best savored slowly, one satisfying sip at a time.
The Enduring History and Tradition of Barrel Making
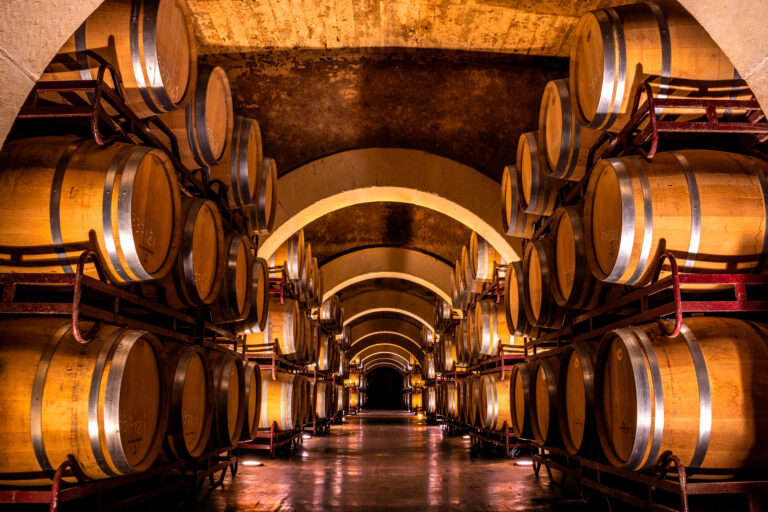
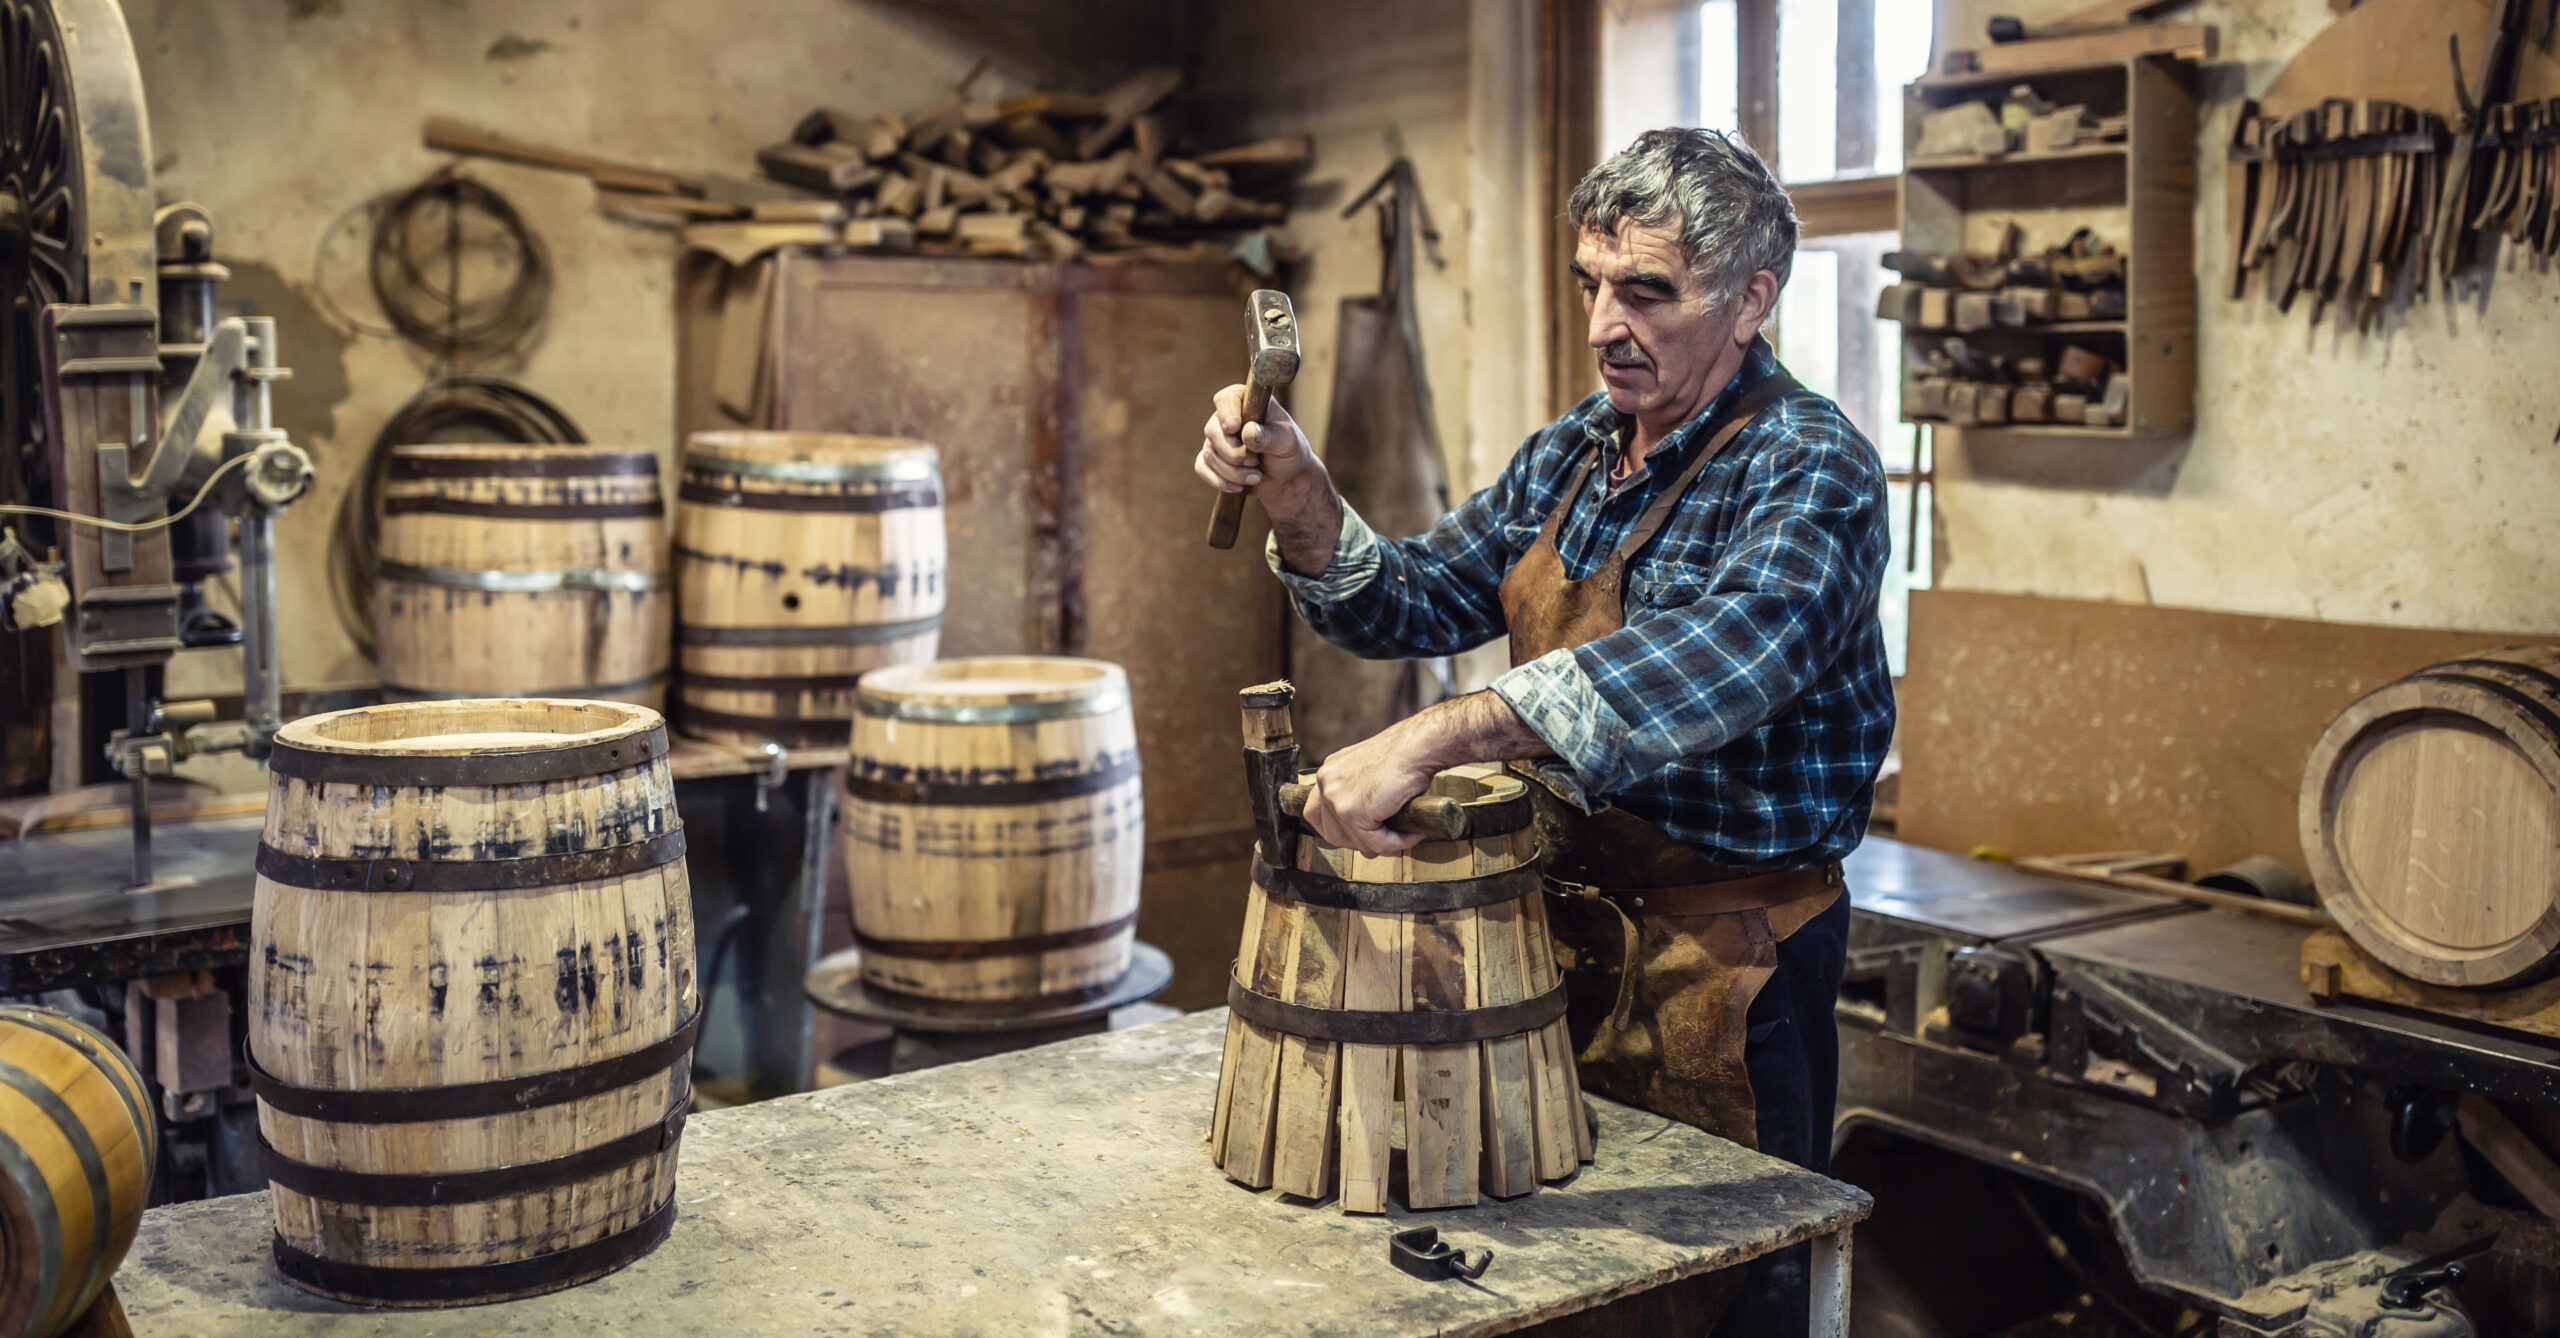
The story of crafting whiskey barrels stretches back through centuries, a lineage rich with tradition. Cooperages, the workshops of these skilled barrel makers, were once vital hubs, their artisans handcrafting the vessels that would age and carry precious goods. Today, while machines assist in some steps, the core techniques remain a testament to time-honored practices.
The Soul of the Barrel: The Wood
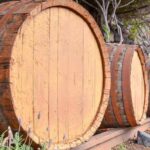
White oak stands as the undisputed choice for crafting whiskey barrels, its very structure allowing for that magical interaction between the wood and the spirit within. American white oak, like the revered Quercus alba, is particularly prized for its consistent character and the beautiful flavors it imparts. The individual staves, the building blocks of the barrel, are patiently air-dried for years, a slow process that mellows the wood and tames any potential bitterness.
The Kiss of Fire: The Toast
The barrel staves then undergo a gentle baptism of heat, a process called toasting. This careful warming caramelizes the natural sugars and lignins within the wood. The degree of toasting, ranging from a whisper-light warmth to a deep, resonant char, dictates the flavor symphony that will eventually grace the whiskey. Deeper toasts unleash more robust, smoky notes, while lighter toasts whisper of delicate spice and sweet vanilla.
The Art of the Curve: The Bend
Masterful coopers then coax and shape the straight staves into their iconic rounded form, securing them with hand-forged barrel hoops. Precision is paramount; the fit must be tight, allowing for the natural expansion and contraction of the wood while preventing any precious leaks. The barrels are then charred, their interiors kissed by open flame, creating an activated layer that eagerly awaits its spirited companion.
The Patient Transformation: The Aging
Once whole, the barrels are filled with the raw distillate and laid to rest in aging warehouses. As the seasons turn and temperatures and humidity dance, the whiskey breathes in and out of the wood, mellowing its youthful fire and drawing forth rich notes of caramel, comforting vanilla, and smoky char. Years, even decades, may pass before the barrels finally yield a refined, complex whiskey. The ancient craft of coopering thrives in distilleries that still honor these time-tested techniques, understanding that the marriage of wood and char shapes spirits that linger in memory. While technology has its place, the art of coaxing exceptional whiskey from oak and flame will forever remain.
Selecting the Perfect Wood for Miniature Barrels
When embarking on the journey of crafting your own miniature whiskey barrels, the choice of wood is paramount. It will profoundly influence the flavor, aroma, and final hue of your spirit. The two stars of the show for these smaller creations are American white oak and French oak.
American white oak is the steadfast foundation for full-sized whiskey barrels, and its character translates beautifully to the miniature scale, lending notes of comforting vanilla, sweet caramel, and warm spice. For mini barrels, white oak staves are precisely cut and held together with elegant copper or durable stainless steel bands. Opting for white oak barrels often leads to that familiar, robust bourbon profile.
French oak, with its more open grain, offers a subtler palette of flavors, think delicate toasted bread, nutty almond, and a hint of warm clove. French oak barrels tend to encourage a faster mellowing of the whiskey due to the increased surface area interaction. Barrels crafted from French oak staves often yield a smoother, more nuanced flavor. Some distillers, seeking the best of both worlds, even experiment with a blend of American and French oak staves for a beautifully balanced result.
While other woods like robust hickory, sweet maple, and hearty red oak sometimes make an appearance in the world of small barrels, these hardwoods can often overpower the delicate character of the whiskey. For those new to the craft, it’s wise to begin with the trusted elegance of the oaks.
Ultimately, the goal is to select a wood that harmonizes with and elevates the inherent qualities of your chosen whiskey. By starting with high-quality, properly cured staves of a wood that speaks to your palate, you’ll be crafting miniature barrels that any distiller would be proud to call their own.
The Dance of the Staves: Shaping and Assembling
Once your staves are precisely cut and smoothly planed, the transformative process of shaping them into a barrel begins. This stage calls for both skillful woodworking and an artistic sensibility, the ability to envision and create a miniature barrel with perfect proportions and graceful curves.
The Gentle Persuasion: Bending the Staves
To achieve the rounded form of a barrel, the staves must be coaxed into submission through heat. Steam bending is an ideal technique for these smaller components. Gently cradle the staves in a steam chamber for 30 to 60 minutes, allowing them to become wonderfully pliable. Then, with care, bend each softened stave around a barrel form, securing them in place as they cool and the wood remembers its new shape.
Bringing the Form to Life: Assembling the Barrel
With the staves now holding their gentle curves, the assembly can begin. Lay two staves side-by-side, then introduce a third at a 60-degree angle, forming a triangular foundation. Firmly join the ends of these staves using reliable wood glue, small nails, or temporary barrel hoops.
Continue adding staves one by one, ensuring they are evenly spaced around the growing circumference of the barrel. A gentle tap with a mallet will help snug them together as you progress. Once all the staves are in place, you’ll have the basic, open form of your barrel.
The Embrace of Metal: Hooping the Barrel
Barrel hoops, also known as barrel rings, are essential for holding the staves in their tight embrace and giving the barrel its distinctive silhouette. Slide the hoops over one end of the barrel and gently tap them down with your mallet until they sit snugly. Begin with slightly larger hoops for the central bulge of the barrel, gradually moving to smaller ones for the ends.
Distribute the hoops evenly along the length of the barrel, spacing them every few inches. For a miniature barrel, aim for between 6 to 12 hoops, depending on its size. Adjust the tightness of the hoops as needed to achieve that appealing barrel shape, with a gentle swelling at its heart.
With patience as your guide and practice your companion, you’ll soon be crafting miniature oak barrels that evoke the spirit of a Kentucky distillery. The key lies in the mindful execution of each step, from the initial cut and bend of the staves to the final slide and tightening of each hoop.
The Unsung Heroes: Installing the Barrel Hoops
With the staves shaped and the barrel body taking form, it’s time to introduce the hoops. These metal rings are the steadfast guardians of the barrel, embracing the staves and holding them firm as the wood breathes and shifts with the spirit within. For your miniature barrels, the durability and elegance of stainless steel hoops are an excellent choice.
Precision in Metal: Measuring and Cutting the Hoops
Carefully measure the circumference of your barrel at its widest point, the bulge, then at the midway point, the quarter hoop, and finally at each end, the head. Cut your stainless steel strapping to these precise measurements. Remember, the hoop at the bulge will be the longest, the quarter hoops slightly shorter, and the head hoops the shortest.
Shaping the Embrace: Bending and Securing the Hoops
Gently bend each cut hoop to mirror the graceful curve of the barrel at its corresponding point. Once shaped, secure the hoops firmly over the staves using durable stainless steel screws, nuts, and washers. Space the screws approximately 3 to 4 inches apart around the circumference of each hoop, ensuring a secure and even hold.
Reinforcing the Heart: Adding the Bung Hoop
The bung hoop has a special role, cradling the staves that surround the bung hole, the opening on the side of the barrel where the bung plug will reside. Cut a hoop that fits snugly around these staves. Bend it to match the barrel’s curve and secure it with screws spaced about an inch apart. This dedicated hoop provides extra reinforcement to this crucial area, offering a solid foundation for the bung plug.
Locking in the Ends: Securing the Head Hoops
The head hoops are the final guardians, encircling the ends of the barrel. Bend a hoop for each end, ensuring a snug fit, and secure them with screws placed about an inch apart. These hoops lock the barrel ends firmly in place, preventing any shifting or loosening of the staves.
Once all the hoops are in position, take the time to tighten the screws firmly, ensuring maximum compression of the staves. Your miniature barrel is now structurally sound and ready for the transformative processes of aging and interior charring, which we’ll explore next. Remember, the hoops play an integral role in containing the whiskey-soaked wood as it expands, so invest your patience and craftsmanship in their proper installation. Your dedication will be rewarded with a long-lasting, fully functional miniature barrel.
The Inner Transformation: Charring or Toasting the Inside of the Barrel
With your miniature barrel now assembled and hooped, it’s time to turn your attention to its interior, where the magic of flavor infusion begins through charring or toasting.
Using a propane torch, gently introduce a light char to the inside surface of the barrel. Move the flame slowly and deliberately back and forth over the wood, just enough to create a slight blackening. Exercise extreme caution to avoid scorching the wood; a light char is all that’s needed at this stage.
An alternative approach is toasting the barrel. To achieve this, carefully place the barrel over an open flame, such as a gas burner, for several minutes, rotating it slowly to ensure even exposure. The goal is to gradually toast the inside to a light brown hue. Toasting, as opposed to a full char, tends to impart a smoky yet mellower flavor profile to the whiskey.
Both charring and toasting play a crucial role in removing undesirable compounds from the wood and creating new flavor compounds that will lend their character to the spirit. The level of char or toast is a matter of personal preference and will depend on the intensity of flavor you desire. For most distillers, a light to medium char or toast strikes an ideal balance.
Please exercise extreme caution when working with open flames. Always have a fire extinguisher readily accessible and never leave a lit torch or burner unattended. Charring a miniature barrel can take as little as 30 seconds to a couple of minutes. It’s always wiser to start with a lighter char; you can always deepen it with more time over the flame, but an over-charred barrel cannot be undone.
Once the barrel has completely cooled, it’s ready to receive your distilled white dog spirit, embarking on its journey to become your very own artisanal whiskey! The transformation of this new make spirit within the barrel, over weeks or months, may surprise and delight you. The craft of making whiskey, while demanding, offers incredibly rewarding results.
The Final Flourish: Sanding, Branding, and Sealing
As your miniature barrels complete their curing process, it’s time for those final touches that will elevate their appearance and ensure their longevity.
Smoothing the Canvas: Sanding
Gently sand the entire exterior of each barrel using fine-grit sandpaper (around 220 grit). This will smooth the surface and open the wood pores, preparing it to receive stain and sealant. Once sanded, wipe away any dust with a tack cloth, leaving a clean surface.
Adding Your Mark: Branding (Optional)
For a personal touch, consider branding your barrels using a wood-burning tool. First, sketch your design on paper, then carefully trace it onto the barrel with the heated tool. Popular choices include initials, names, significant dates, or simple line drawings. Take your time and exercise caution, as the tool can cause injury if mishandled.
Enhancing the Grain: Staining (Optional)
To introduce color and highlight the natural wood grain, apply 2-3 coats of wood stain with a brush, allowing about 15 minutes between each coat. After about 5 minutes, wipe away any excess stain with a clean rag. Allow the stain to dry completely according to the manufacturer’s instructions. While optional, staining can beautifully enhance the wood and make your custom brand stand out.
Protecting Your Craft: Sealing
To safeguard the wood and prevent leaks, apply 2-3 coats of food-grade polyurethane or lacquer sealer with a brush, allowing each coat to dry thoroughly as directed. Sealer is crucial for waterproofing and preventing the wood from cracking over time.
With these simple finishing steps, your miniature barrels will be ready for use or proud display. Take pride in your handcrafted creation and the journey you’ve undertaken to become an artisan barrel maker. Your patience and skill will be evident in every admired detail of your mini barrels.
The Alchemy of Time: Aging Whiskey in Miniature Barrels
Aging whiskey in miniature barrels offers a unique opportunity to actively participate in the aging process and tailor the flavor profile to your exact preferences. As the spirit interacts intimately with the wood, it draws forth desirable characteristics, such as warm vanilla notes, spicy undertones, and rich caramel sweetness. The smaller size of the barrel means a greater surface area-to-volume ratio, accelerating the aging process compared to full-sized barrels.
Choosing Your Vessel: Selecting the Barrel
Opt for a 5-10 liter barrel crafted from American white oak, the traditional wood for aging whiskey. These barrels will have undergone a curing and toasting process, with varying levels of char, from light to heavy, each imparting a distinct set of flavors. For your initial foray into aging, a medium char offers a versatile starting point.
The First Pour: Filling the Barrel
Carefully fill your chosen barrel approximately two-thirds full with unaged “white dog” whiskey. The remaining headspace allows for the spirit to expand and contract as it interacts with the wood. Once filled, seal the barrel tightly and store it in a cool environment, away from direct sunlight.
Tasting the Journey: Sampling and Adjusting
After about a month, draw a small sample of the whiskey to assess its progress. You’ll likely notice a mellowing of the spirit and the emergence of vanilla, caramel, and spice notes imparted by the wood. If the flavor intensity is to your liking, you can dilute the whiskey with water to your preferred strength. If you desire more wood influence, reseal the barrel and allow it to continue aging.
The Final Act: Bottling Your Creation
Typically, after 3 to 6 months, the whiskey will have achieved a balanced and complex flavor profile. When it reaches your desired taste, it’s time to bottle and savor your creation! Miniature barrels empower craft distillers to age small batches, perfectly tailored to individual palates.
Aging whiskey is an art form, and miniature barrels provide an innovative canvas for producing unique, custom spirits. With a little experimentation, you’ll be crafting memorable whiskey in no time.
Nurturing Your Craft: Tips for Caring for Your Mini Barrels
Once you’ve poured your heart into crafting your miniature whiskey barrels, proper care is essential to ensure optimal results and longevity. Here are some key tips to keep in mind:
Preparing for the Spirit: Season the Barrels
After crafting your barrels, they need to be seasoned before welcoming whiskey. Submerge them fully in water for 2-3 days, allowing the wood to absorb moisture and swell. Then, drain the water and let the barrels sit empty in a cool spot for about a week. This process helps the wood seal properly.
The Right Fill: Fill and Seal Properly
When it’s time to fill your barrels, lay them on their sides and fill them about three-quarters full with whiskey. Ensure they are sealed tightly. For the first few days, diligently check the seals and tighten them as needed as the wood continues to swell. After this initial period, you can stand the barrels upright for the remainder of the aging process.
Temperature Matters: Maintain Temperature
The ambient temperature during aging significantly influences the flavor development. Warmer temperatures accelerate the aging process, while cooler temperatures slow it down. For most whiskeys, a range of 55-65°F (approximately 13-18°C) is ideal. Choose a storage location away from extreme heat or cold. Attics and garages can often become too warm, while basements might be too cool for optimal aging.
The Taste of Time: Sample and Bottle
After a minimum of 3-6 months of aging, begin sampling your whiskey. When it reaches your desired flavor complexity and balance, it’s time to bottle it. To do this, carefully open the barrels and filter the whiskey through a cheesecloth-lined funnel into sterilized bottles. Seal the bottles securely and enjoy the fruits (or rather, the spirit) of your labor!
Patience Rewards: Additional Aging (Optional)
If, after your initial sampling, you desire a smoother, more complex character, simply reseal the barrels and continue the aging process for an additional 3-12 months. Sample periodically until the whiskey reaches your preferred taste. Generally, longer aging leads to a smoother and more robust flavor profile.
A Second Life: Clean Barrels for Re-use (Optional)
Once a barrel is emptied, rinse it thoroughly with hot water until the water runs clear. Allow it to air dry completely to prevent any mold growth. You can also lightly sand the inside to remove any remaining residue. Before refilling, remember to re-season the barrel. With proper care, your miniature barrels can last for 10-15 years, contributing to many exceptional batches of aged whiskey.
The craft of making aged spirits at home is a deeply rewarding pursuit. Following these care tips will help you create memorable, full-flavored whiskeys in your own mini barrels. With a little patience and consistent practice, you’ll be savoring the rich results of your efforts in no time!
The Craft of Miniature Whiskey Barrel Making FAQs
Embarking on the journey of making miniature whiskey barrels requires patience, a steady hand, and a keen eye for detail. Many craftspeople find it a deeply satisfying hobby, but like any art form, there’s a learning curve to navigate. Here are some of the most frequently asked questions for those just starting out in the world of small-scale cooperage.
What tools and materials will I need to get started?
The fundamental tools and materials echo those used in full-scale barrel making, just scaled down. You’ll need staves of white oak, metal hoops, a croze (the specialized tool for cutting the groove that holds the barrel head), a flag (used for shaping the staves), a jointer plane for smoothing edges, and sharp wood chisels. For assembly, you’ll want reliable wood glue, small nails or pegs, and a sturdy mallet.
How do I accurately cut and shape the staves?
Begin by cutting your oak boards to the desired length, then use a planer and jointer to ensure the edges are perfectly straight and square. A table saw will help you cut the staves to the correct width. The characteristic taper of the staves (wider in the middle, narrower at the ends) can be achieved using a flag or a hand plane. Finally, use a chisel, file, and sandpaper to gently round over the edges for a smooth fit.
What’s the best way to bend and assemble the staves?
To make the staves pliable for bending, soak them in hot water until they become flexible. Then, carefully bend them around a metal hoop, which will serve as a temporary form. Apply wood glue to the edges of the staves and clamp them together as they dry, ensuring a tight seal. Once dry, use a mallet to carefully drive the permanent hoops down around the barrel. Add additional hoops around the bilge (the widest part) and near the ends for structural integrity.
How long does a miniature barrel typically need to cure before use?
A miniature barrel generally requires a curing period of 2-4 weeks to allow the wood to swell and create a watertight seal. Fill the barrel with water and let it sit, replacing the water every few days. Once it can hold water without any leaks, empty it, rinse it thoroughly, and allow it to dry completely. It’s now ready to begin its spirit-aging journey!
- Seasoning the barrel by filling and emptying it with water a few times can further help to leach out any harsh tannins and soften the oak before introducing your precious spirits.
- Remember that the smaller the barrel, the more rapid the aging process. However, be mindful not to over-age your whiskey, as it can become overly oaked.
- With diligent care and proper maintenance, a miniature barrel can be a long-lasting companion, offering 10-15 years of service. Be sure to re-season it between uses and store it in a cool environment, away from direct heat and sunlight.
The craft of making miniature whiskey barrels is a skill honed through practice and patience. But for many artisans, the rewards of this meticulous work are savored sip by delightful sip. With time, dedication, and a touch of artistry, you’ll be crafting barrels and blending spirits like a seasoned cooper.
Final Thoughts
So there you have it – a glimpse into the intricate world of creating these charming little vessels. The craft of making miniature whiskey barrels is truly an art form, demanding a remarkable blend of skill, unwavering patience, and a spark of creative vision. Perhaps now, when you encounter these miniature marvels gracing store shelves or captivating event displays, you’ll possess a deeper appreciation for the dedication and artistry poured into their creation. And who knows? Maybe this exploration has ignited a passion within you to try your own hand at crafting a miniature barrel. If you do, be sure to raise a small dram of your favorite spirit to celebrate your newfound endeavor. It’s the perfect culmination to a fascinating new hobby.