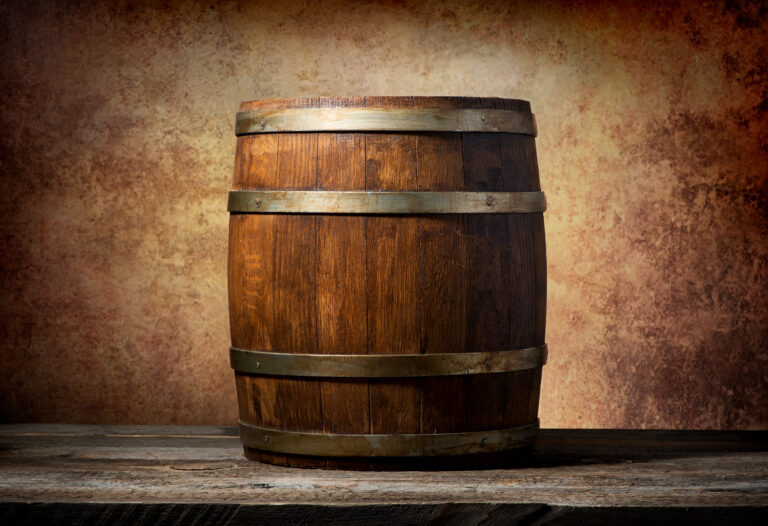
So, you’ve got some whiskey barrels that aren’t looking their best, eh? Don’t sweat it; with a little care, you can bring those beauties back to life. Good aging barrels aren’t cheap, so keeping yours in working order is just plain smart. Before you know it, they’ll be watertight and ready to age your favorite spirit. We’re going to walk you through checking your barrels, spotting any trouble areas, and making the fixes you need. With a few basic tools and supplies, you’ll have those barrels patched up and ready for many more years of service. Let’s get started on this whiskey barrel repair journey!
Spotting Trouble: When Your Aging Barrel Needs Attention
If your whiskey barrels are showing their age or have taken a bit of a beating, it’s time for some TLC. Even small dents, cracks, or leaks mean it’s time for repairs to keep your barrels doing their job safely and effectively. This is key for proper whiskey barrel maintenance.
Take a good look at the staves – those wooden planks forming the sides. See any splits, cracks, or holes? For minor cracks, a bit of wood glue and some clamps can work wonders. Bigger problems might mean replacing a stave. Carefully remove the damaged one, cut a new piece to size, and seal it in place with wood glue and nails.
Next, check those metal bands, the barrel hoops. Are any loose or damaged? Tighten or replace them. Loose hoops won’t give the staves the support they need, and that can lead to more trouble down the line.
Don’t forget the barrel head, the round wooden top and bottom. Check for warping, mold, or major dents. Small dents can sometimes be steamed out. But if it’s seriously damaged, you might need to replace the whole head. Carefully take off the hoops and staves around the bad head, put in the new one, and put your barrel back together.
Finally, give the spigot – that’s the tap for getting your liquid out – a once-over. Any cracks or leaks? Replace it if needed. A leaky spigot is a no-go for proper aging; you don’t want to lose any of that precious whiskey!
With regular check-ups and minor whiskey barrel repairs, a good quality whiskey barrel can last for ages. But once a barrel starts showing serious damage or just won’t hold liquid anymore, it’s best to replace it. You don’t want to risk ruining your whiskey – or all your hard work. Keep your barrels in good shape, and you’ll be enjoying what they hold for years to come!
Common Wear and Tear on Your Whiskey Barrels
If you’re the proud owner of whiskey barrels, chances are the wood and metal parts will start showing some wear and tear over time. The good news is, a lot of the common issues are things you can easily handle yourself as part of your whiskey barrel maintenance routine.
Staves and Hoops
The staves (wooden planks) and hoops (metal rings) that make up the barrel can sometimes get loose or damaged.
- Tighten loose hoops by gently tapping them down further with a mallet. You can often secure slightly loose staves the same way.
- Replace rusted or bent hoops. Use a hoop driver to carefully remove the old ones and install new ones, making sure they’re spaced evenly.
Cracks and Leaks
Small cracks in the staves are often the culprits behind leaks in your aging barrel.
- For minor cracks, apply some waterproof wood glue and clamp the area until it’s completely dry. Once dry, sand away any excess glue.
- For larger cracks or holes, you might need to patch and seal from the inside. Clean and roughen up the area around the leak. Then, apply a food-grade waterproof epoxy or sealant, following the product instructions carefully.
Rust
Rust can be a nuisance on hoops and nails, and it can also damage the wood of your whiskey barrel.
- Scrub rust from hoops and nails using an abrasive pad. Once clean, apply a rust-preventing primer followed by a coat of metal paint.
- For heavily rusted hoops, you might need to remove them entirely, thoroughly scrub off the rust, repaint them, and then reinstall them.
With regular inspections and a little whiskey barrel maintenance, your whiskey barrels can stay functional and keep that rustic charm for years. Remember, a little prevention goes a long way, so deal with any issues as soon as you spot them. Keep your barrels sealed and stored in a dry place, away from extreme heat or cold, and they’ll continue aging your spirits gracefully.
Simple Fixes: Repairing Small Holes and Cracks in Barrel Staves
Repairing those little holes and cracks in your whiskey barrel staves is crucial for preventing leaks and keeping your aging barrel in good shape. As barrels age, the wood naturally expands and contracts, which can lead to minor damage. Don’t worry, these kinds of whiskey barrel repairs are usually pretty straightforward.
What You’ll Need
Gather up some basic woodworking bits and pieces: sandpaper, wood glue, clamps, a chisel, and some food-grade epoxy or sealant. You’ll also want some steel wool, a damp cloth, and a couple of paintbrushes.
Prep the Area with a Light Sand
Gently sand around the hole or crack. This roughs up the surface a bit, giving the glue something to really grab onto. Wipe away any dust with your damp cloth.
Get Gluing
Squeeze wood glue into the hole or crack, making sure it gets right in there. Let it sit for about 5 minutes until it feels a little tacky. If you’re dealing with a bigger repair, you might need to do this in layers, letting each layer get tacky before adding the next.
Clamp It Up
Place clamps on either side of the repair to hold the staves nice and tight while the glue dries. Tighten them firmly, but be careful not to squeeze so hard you crack the wood. Leave the clamps on for at least 30 minutes, or whatever the glue instructions recommend.
Seal It Tight
Apply 2-3 coats of that food-grade epoxy or sealant over the repair. Make sure each coat is completely dry before you put on the next. This will stop any leaks and make sure the glue flavor doesn’t mess with your whiskey.
Final Gentle Sand
Once the epoxy is dry, give it a very light sanding to just take the edge off. This helps the repaired spot blend in a bit better with the rest of the barrel. Wipe away any dust, and you’re all set!
With these easy DIY tips, you can keep your whiskey barrels in top-notch condition for years of use. Regular whiskey barrel maintenance and taking care of those little repairs means your barrels will continue to age your spirits beautifully. Keep an eye out for any damage and fix those small holes or cracks right away. A little patience now will reward you with a perfect barrel and amazing whiskey down the line.
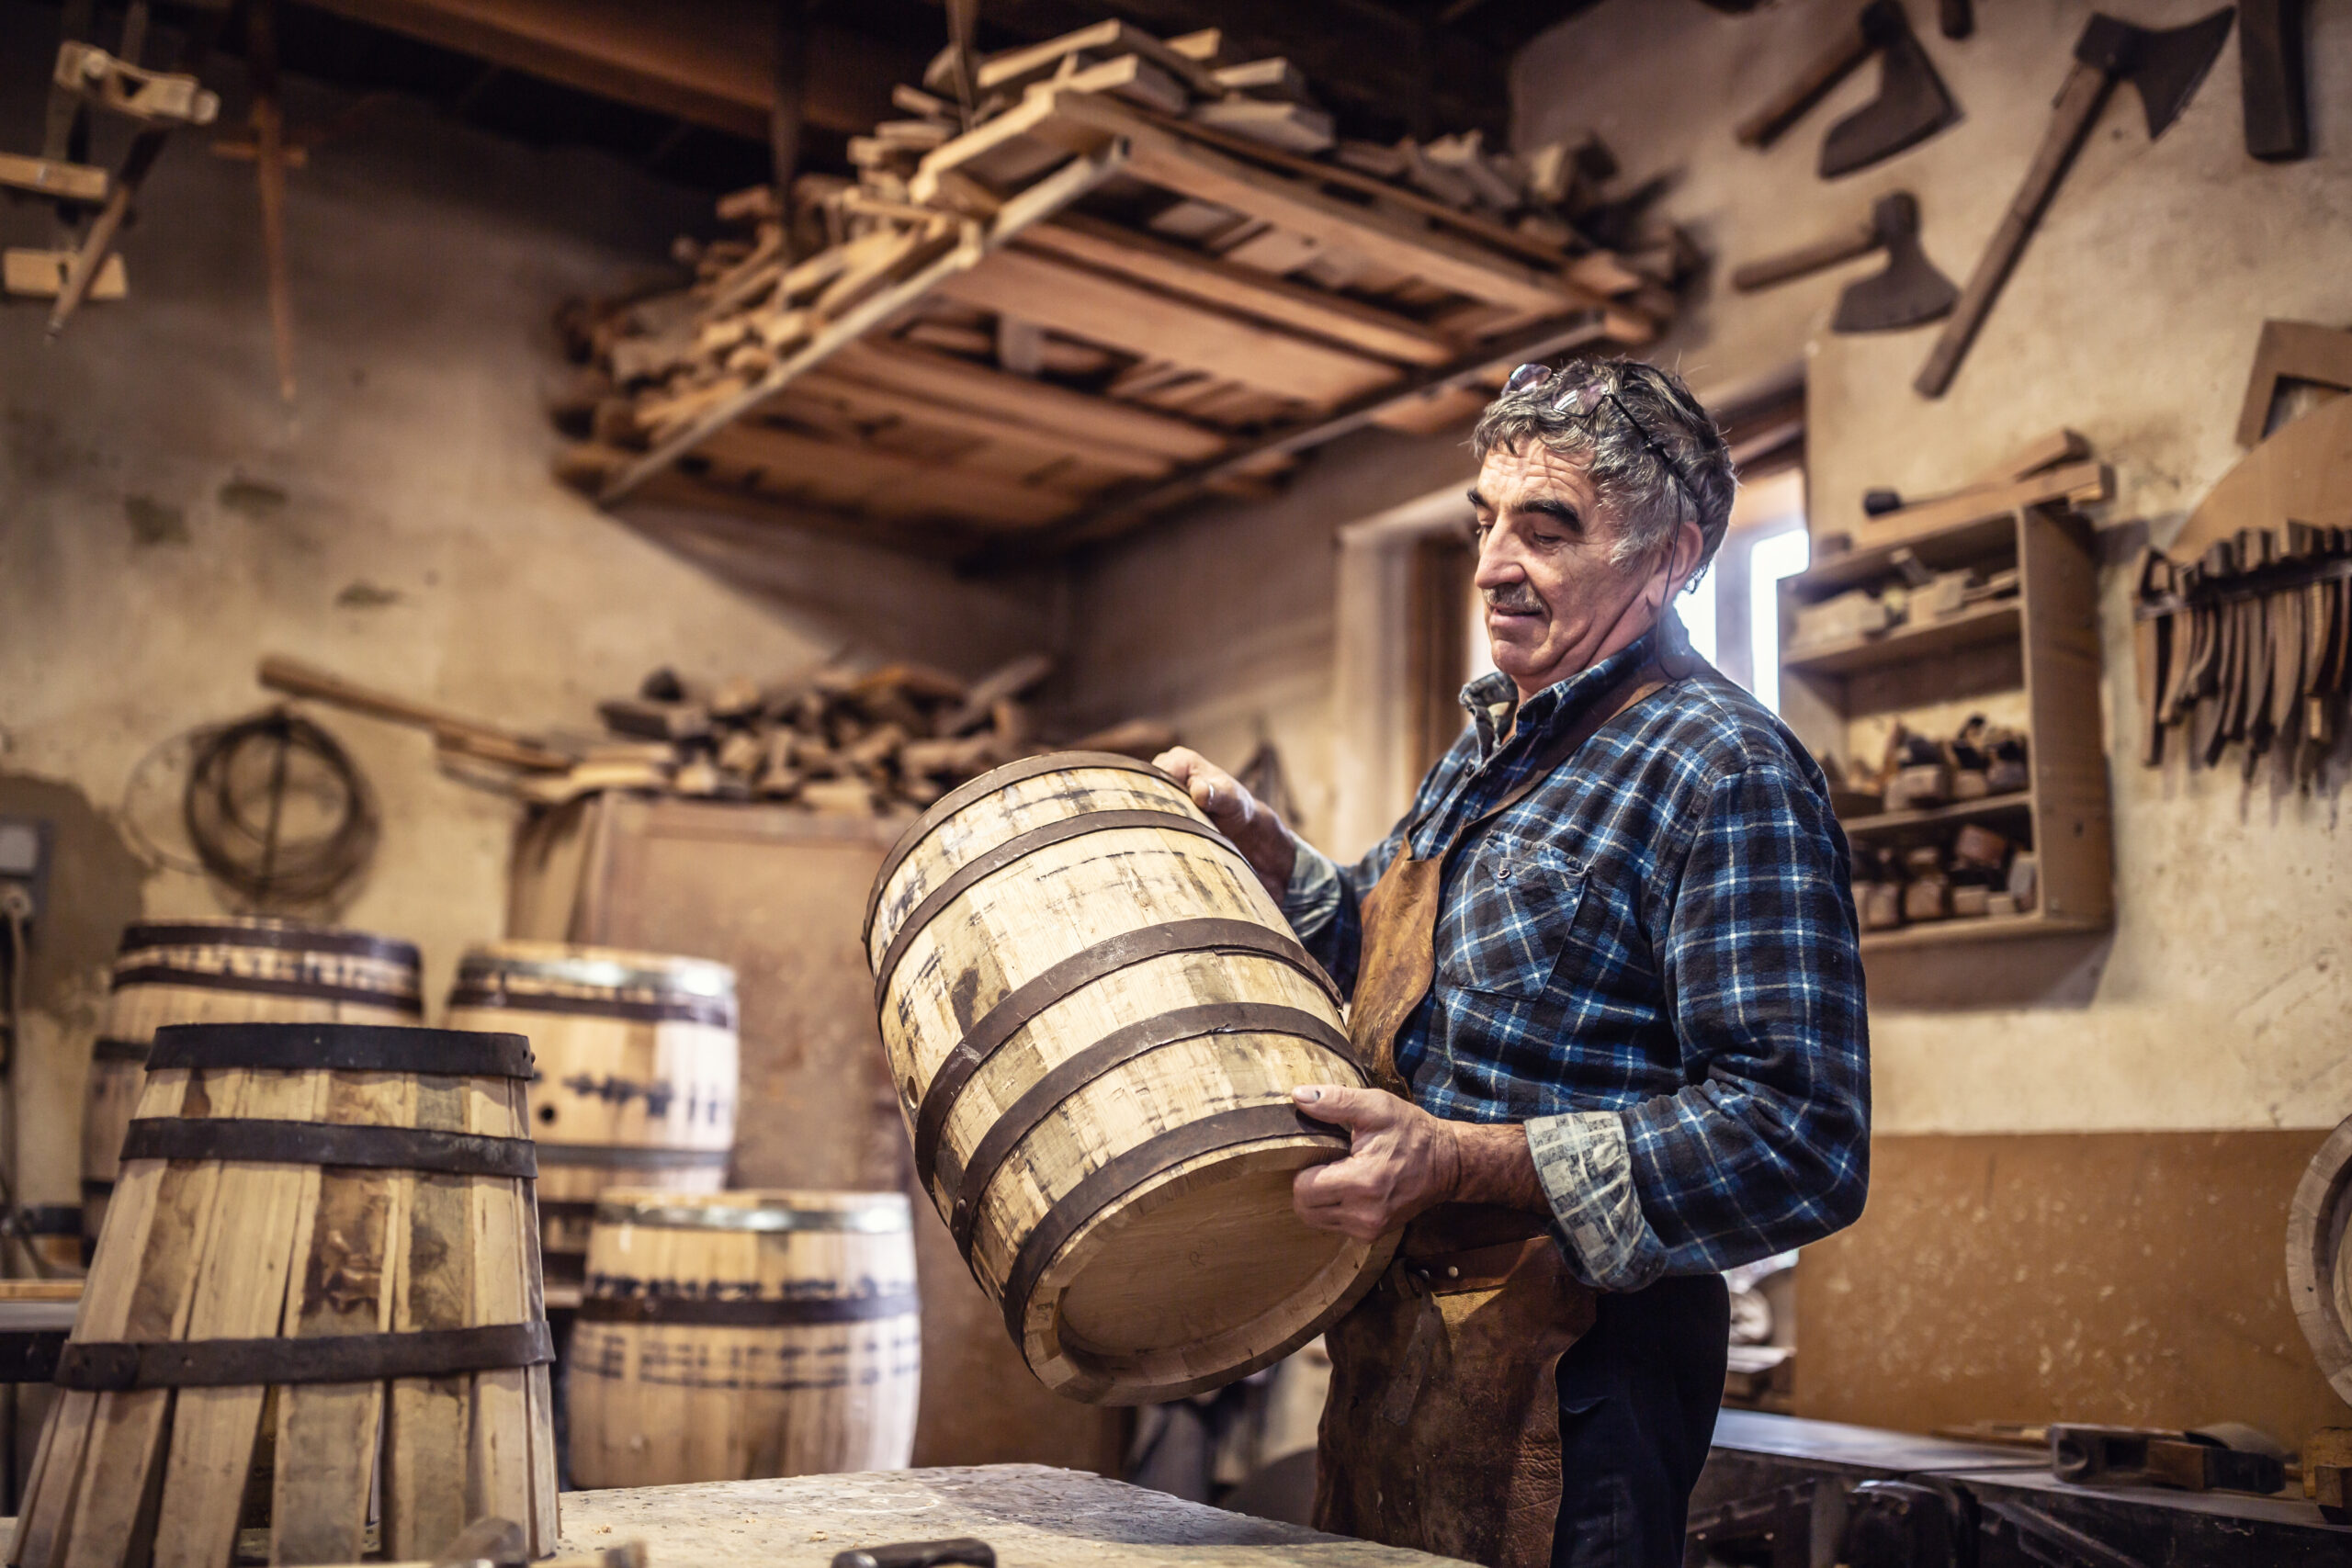
The Big Fix: Replacing Broken or Rotten Staves
If your whiskey barrels are springing leaks or the staves have seen better days, replacing them is a must to keep your barrels in working order for aging.
Getting the Old Staves Out
To remove staves, you’ll need a rubber mallet, a chisel, and a stave extractor tool. Gently pry off the hoops at the top and bottom of the barrel using the chisel and mallet. Once the hoops are off, use the stave extractor to carefully pry each stave away from the barrel. Take your time and work your way around to avoid cracking the staves next to the one you’re removing.
Preparing the New Wood
Grab some untreated oak staves that are the same size as the ones on your barrel. Roughly plane or sand the new staves so they fit the curve of your barrel. Trim them to the right length, leaving them just a little bit longer – you can always trim more off later if needed. Number the staves in the order you plan to install them.
Putting in the New Staves
With the hoops still off, start by installing stave #1. Gently pound it into place with your mallet, tapping around the edges to make sure it’s seated evenly. Add the rest of the staves in order, tapping each one in before moving to the next. Once all the staves are in, it’s time to put the hoops back on.
Tighten the hoops a little bit at a time, tapping around the circumference with your mallet after each turn. Check the inside of the barrel for any gaps and tap the staves in further if needed. Keep going until the hoops are nice and snug, but not so tight that they start to distort the shape of the barrel.
Sealing and Swelling
Fill the barrel with warm water and let it sit for 3-5 days. The wood will swell up, which helps to seal any small gaps. After a few days, drain the water, give it a rinse, and let the barrel dry completely. It should now be watertight and ready for use. However, keep an eye out for any leaks over the next few uses and re-tighten the hoops if necessary.
Proper stave installation and sealing are key to bringing your barrel back to life. With a bit of patience and the right tools, you’ll have your barrel holding that liquid gold again in no time. Let the aging and mellowing begin!
Keeping it Tight: Tightening and Replacing Hoops on Whiskey Barrels
Over time, the wooden hoops on whiskey barrels can become loose or even damaged. Regular checks and tightening or replacing them as needed are important parts of whiskey barrel maintenance.
When Things Get Loose: Tightening Hoops
If you start to see the staves bulging out between the hoops, it’s a clear sign that it’s time to tighten things up. Use a hoop driver or a hammer to gently tap the hoop downwards while slowly rotating the barrel. Work in small increments, tightening a little bit at a time. Use a hoop gauge to check your progress and make sure the tightness is even all the way around. Be careful not to overtighten, as this can actually damage the barrel.
Once you’ve tightened the hoops, it’s a good idea to test them. Fill the barrel with water and check for any leaks. If it’s all good, empty the water and let the barrel dry completely before you use it again.
When Tightening Isn’t Enough: Replacing Hoops
If hoops are split, broken, or just can’t be tightened any further, you’ll need to replace them. Remove the damaged hoop completely. Measure the diameter of your barrel to figure out what size hoop you need. They usually come in 1/4-inch increments.
Slide the new hoop over the barrel staves. Use a rubber mallet to gently tap it down evenly into the groove left by the old hoop. Keep checking with your hoop gauge to ensure even spacing as you go. Replace all the damaged hoops before you test and reuse the barrel.
A Word of Caution: Be extra careful when you’re removing or replacing hoops, as the barrel staves and hoops themselves can cause injury if you’re not careful. Always wear thick gloves and safety glasses for protection.
With regular inspections and this kind of whiskey barrel maintenance, your whiskey barrels can serve you well for many years. Keeping those hoops tight and the staves in good condition will help ensure your barrels stay watertight and continue to age your spirits to perfection.
Giving it a New Top: Refurbishing the Barrel Head/Lid
To keep your whiskey barrels in good working order, the lid, or barrel head, needs some regular attention. Over time, it can warp, crack, and start to leak. Refurbishing or even replacing the lid is often necessary to make sure your barrel stays airtight and watertight, which is crucial for proper aging.
First Steps: Inspect the Barrel Head
Take a good look at the lid. Check for any cracks, holes, or splits in the wood. Small cracks can often be fixed, but if there’s major damage, you’ll likely need a replacement.
Also, check if the lid sits evenly on the barrel rim. If it’s uneven or warped, it won’t seal properly and will need to be flattened or replaced.
Finally, inspect the wood itself. Is it dry and brittle? As wood ages, it loses moisture and flexibility. A dried-out lid should be rehydrated or replaced.
Bringing Back the Moisture: Rehydrate the Wood
Soak the barrel head in water for about 30-60 minutes until it’s fully saturated.
Remove it and let any excess water drain away.
Then, let the wood air dry completely before you start sanding and resealing. Rehydrating the wood helps bring back some of its flexibility and sealing properties.
Smooth and Sealed: Sand and Re-seal the Lid
Lightly sand the lid to give the surface some texture, then wipe away any dust with a tack cloth.
Apply 2-3 coats of a food-grade sealant or epoxy, making sure each coat is completely dry before you add the next.
Don’t forget to flip the lid over and seal the underside as well for the best protection.
Once it’s fully cured, the sealant will waterproof the wood and help prevent any further cracking.
Extra Support: Install Steel Hoops (Optional)
For lids that are badly damaged and can’t be sufficiently repaired, you can install steel hoops for extra reinforcement.
Measure and cut steel strapping to fit around the circumference of the lid.
Secure the ends together with a buckle and notch to get a nice tight fit.
The steel strapping will help hold the lid together, even if the wood has split or started to fall apart.
With regular whiskey barrel maintenance, a whiskey barrel head can last for many more years. Don’t let a leaky lid shorten the lifespan of your barrel. Take the time to refurbish and reseal it to keep your barrel in top-notch shape for aging.
Creating the Ideal Environment: Sealing the Inside of the Barrel
Once you’ve got your whiskey barrels repaired and ready to go, properly sealing the inside is a key step before you start aging your spirits. An unsealed barrel allows too much oxygen to interact with the wood, which can lead to some off-flavors in your aging alcohol. Sealing the inside creates that ideal airtight environment for controlled maturation.
Get it Clean
Give the inside of the barrel a good cleaning to get rid of any loose bits. A barrel brush works great for scrubbing away any char or wood pieces. Rinse it out thoroughly with water and then let it air dry completely.
A Little Toast
Lightly toast the inside of the barrel with a blowtorch. This helps to open up the wood pores and creates a better surface for the sealant to adhere to. Be very careful not to scorch the wood. Once you’re done, wipe away any ash with a damp cloth.
Applying the Protection
Use a food-grade sealant like paraffin wax, beeswax, or a neutral-flavored epoxy. Paraffin wax and beeswax are natural options that won’t impart any flavor, while epoxy creates a strong, inert plastic coating. Apply 2-3 coats of whichever sealant you choose, making sure each coat is dry before you add the next. Follow the product instructions for drying times.
Let it Cure
Once you’ve applied the sealant, let it cure for at least 2 weeks before you use the barrel. This gives any solvents time to evaporate and allows the sealant to fully harden. For epoxy, be sure to follow the specific curing time recommended on the product.
Final Prep: Conditioning
After the sealant has cured, fill the barrel with warm water and let it stand for 3-4 days. This rehydrates the wood and helps the sealant bond even better. Empty the water and rinse the barrel with fresh water. Let it air dry completely one last time before you fill it with your spirits.
With the inside properly cleaned, sealed, and conditioned, your whiskey barrel is now ready to age your spirits to perfection. The sealant will help you achieve better flavor control and color extraction from the wood. Remember to keep an eye on the inside of the barrel and re-seal it as needed to maintain that ideal airtight aging environment.
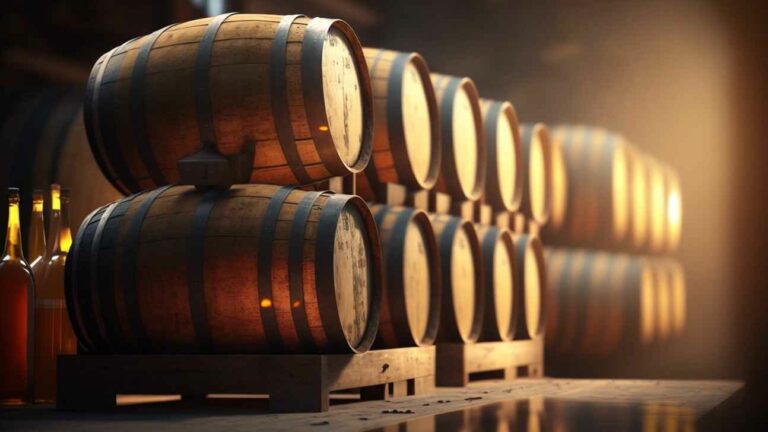
Making Them Last: Storing Whiskey Barrels Properly for Longevity
To keep your whiskey barrels in good shape for years of aging, proper storage is absolutely key. Here are some helpful tips to maximize the lifespan of your barrels and ensure they remain valuable for your whiskey barrel maintenance routine:
- Keep them out of direct sunlight. UV rays can really dry out and damage the wood, leading to cracks and leaks. Store your barrels in a shed, garage, or another covered area where they’re not directly exposed to sunlight.
- Aim for moderate temperatures. Extreme heat or cold can cause the wood to warp, shrink, or swell. Try to keep your storage temperatures between 50 and 70 degrees Fahrenheit. This will help the wood stay stable and the barrel sealed tight.
- Get them off the ground. Letting your barrels sit directly on concrete or soil can lead to mold, mildew, and rot. Place them on a wooden pallet, rack, or stand to allow for good air circulation underneath.
- Regular inspections are your friend. Check your barrels a few times a month for any signs of damage or leaks. Look for cracks in the wood, any warped or bulging areas, and drips or spills around the base. Make any necessary whiskey barrel repairs immediately to avoid losing any precious whiskey. It’s always best to fix small issues as soon as you spot them.
- Consider rotating them. For barrels that you’ll be storing long-term, giving them a quarter turn every 3 to 6 months can help to keep the wood evenly wet, preventing any one side from drying out too much. This is especially important for barrels that aren’t completely full.
- Re-coat when needed. The protective wax or lacquer coatings on barrels can start to break down over time due to exposure and aging. Re-coating your barrels every 12-24 months will help protect the wood and maintain an effective seal. Make sure to use a food-grade sealant that’s specifically designed for barrels.
Following these useful tips for proper barrel storage and care will go a long way in ensuring your whiskey barrels have a long and productive life, continuing to house quality spirits for years to come. Investing a little time in proper whiskey barrel maintenance might seem small, but it pays big rewards down the road.
Your Burning Questions Answered: Whiskey Barrel Repair and Maintenance FAQs
Many folks who own whiskey barrels have similar questions about how to keep them in good shape. Here are some of the most common questions we hear about whiskey barrel repair and maintenance, along with our best answers:
How often do I need to re-swell the barrel?
You’ll want to re-swell your barrel about once every 3-6 months to keep it nice and airtight. Just add about a gallon of warm water to the barrel, seal it up tight, and let it sit for a couple of days. Then, drain the water and give it a good rinse. This process helps the wood expand and seals up any small cracks that might have developed.
Is it necessary to treat the inside of the barrel?
Yes, it’s a good idea to treat the inside of your barrel when you first get it. Then, plan to re-treat it every couple of years, or if you notice the barrel seems to be drying out. You can use a commercial barrel treatment product, or even make your own blend of beeswax and carnauba wax. Just spread the wax evenly over the inside of the barrel using a rag, and then buff off any excess. This creates a seal for the wood and helps prevent oxidation.
What’s the best way to clean the outside of the barrel?
For general cleaning, simply wipe down the outside of the barrel regularly with a damp cloth to remove any dirt or debris. If you’ve got some stubborn messes, try making a paste with water and baking soda or water and oxygen bleach. Apply the paste to the affected area, let it sit for a bit, and then scrub it off. Make sure to avoid using harsh chemicals, abrasive cleaners, or steel wool, as these can damage the wood. Once you’re done cleaning, rinse the area well with water and let it dry completely.
What are the usual causes of barrel leaks, and how can I fix them?
Most barrel leaks happen because of cracks or holes that develop in the wood over time. For small leaks, you can often use a mixture of wood glue and sawdust to patch them up. First, make sure the area is clean and dry. Then, apply wood glue over the leak and pack sawdust into it. Let it dry completely. For larger cracks, you might need to use a waterproof wood filler or epoxy. After the repair, sand any rough areas smooth and consider re-treating the inside of the barrel. As a preventative measure, always ensure your barrel is properly swelled and treated.
Is it okay to leave my barrel outside?
While barrels are built to withstand some exposure to the elements, it’s always best to store your barrel in a covered area, away from direct sunlight and harsh weather, whenever possible. Prolonged exposure to sun and rain can cause the wood to crack, warp, and even rot over time. If you absolutely have to store your barrel outside, make sure to keep it raised off the ground on blocks and cover it with a tarp when it’s not in use. If a barrel is kept outside, you’ll likely need to inspect it and re-treat it more frequently as part of your whiskey barrel maintenance.
Final Thoughts
So there you have it – the essential know-how you need to keep your whiskey barrels in tip-top shape. Whether you’re using them for aging and storing your own homebrew whiskey or simply as decorative pieces, taking good care of those barrels will ensure they last for years to come. Now that you’re armed with these whiskey barrel repair and maintenance tips, you’ve got no excuse not to head out to your garage or basement and give your barrels some much-needed TLC. Spend a little time sanding, sealing, and maybe even staining, and before you know it, you’ll have a set of barrels you can proudly display. And the best part? Knowing you did it yourself. Not bad for someone just starting out with barrel care, eh? Keep at it, and you’ll be aging and maybe even bottling your own whiskey before you know it!